If you were in a hurry or aren’t a sidequest completionist, it’s entirely possible you skipped right over this one. If that’s the case, seek out Bloezoeng (Mor Dhona – Revenant’s Toll, X:22 Y:9) to grab the Quest “It’s Definitely Pirates”. Seeing as how you drove the Serpent Reaver Pirates out of Sastasha early in your adventures, you’re the perfect candidate. Head back to Sastasha and prepare to reintroduce yourself to some old, now undead, friends. This Duty can be completed unsynced or with a light party of four players. Or even unsynced with a light party if you really want to speed things up.
Sufferin’ Sastasha
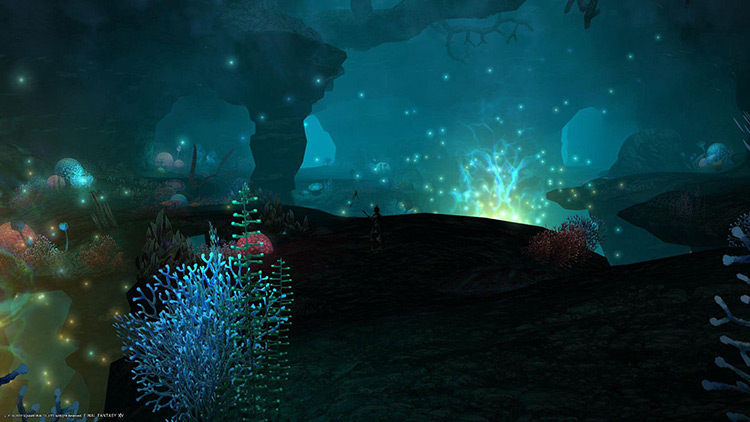
The now flooded Sastasha holds a number of new challenges, complete with new mechanics. Some aren’t actually seen in but a few places in the entire game. It’s good to understand how they work, lest you find yourself repeatedly sleeping with the sahagins. First and foremost you’ll encounter a number of dead pirates. Unfortunately these dead pirates are feeling pretty lively. Return them once again to their watery graves in order to unlock the gates as you proceed. After operating the sluice switch and draining the now flooded Sastasha, you’ll tackle your first boss.
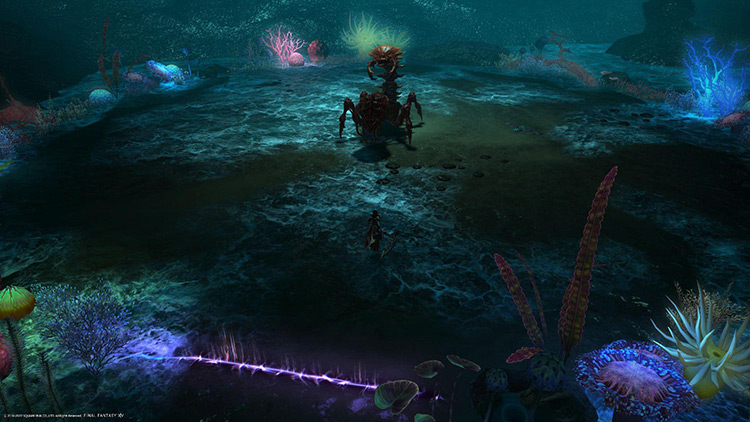
Karlabos
Aqua Ball – A targeted attack by Karlabos which will apply a heavy DoT (damage-over-time) called Slime to you. Can be removed with Esuna, and quickly should be. Prey – This is a targeted attack that can be passed between party members. At the end of the cast, the target will be stunned. Pass this to someone who isn’t the Tank. Tail Screw – A random DPS or the Healer will always be targeted for this attack. It will drop you to 1% of your total HP regardless of mitigation, and having the Slime DoT will cause it to kill you. This Boss can be stunned out of this attack. Watch as the Karlabos’s health drops, as it will deal increasingly more damage.
After exterminating that insect, you’ll move to another series of gates. These are all occupied by mermaid enemies. The one in the center is the priority, as Brines will spawn and once touching them will explode. Failure to handle this will absolutely wipe your Party so either be quick or be cautious. Following this you’ll encounter a familiar foe, one adept at escaping. Even escaping death, apparently.
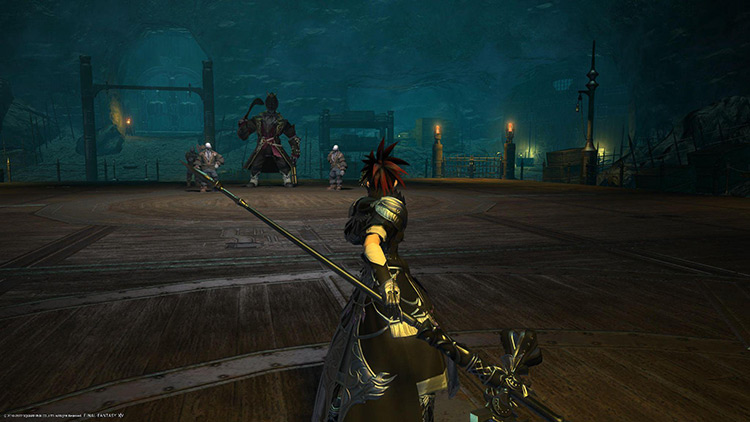
Captain Madison
Adds – Captain Madison will spawn four different types of Adds throughout the fight. They’re rather weak, but some should be prioritized over others. Leech – Heals other Adds and should be dispatched immediately. Boy – Targets random Party Members with long line AOEs. Guard – Will cause a point blank large circular AOE. Slave – Will latch onto a random Player, rooting them in place. Should be prioritized immediately if targeted or after the Leech. In the Line of Fire – Madison will target a random Player and begin shooting them. He must be dealt a certain amount of damage to stop this mechanic. Otherwise each successive shot will deal roughly 20% more damage, until his target dies. And then he’ll come for you! Charge – A random dash attack towards a Player. Will be followed up by a conal AOE which should be dodged. Once he’s been dealt enough damage, the captain will flee, summoning several Adds. Burn them all down before they detonate and wipe your Party.
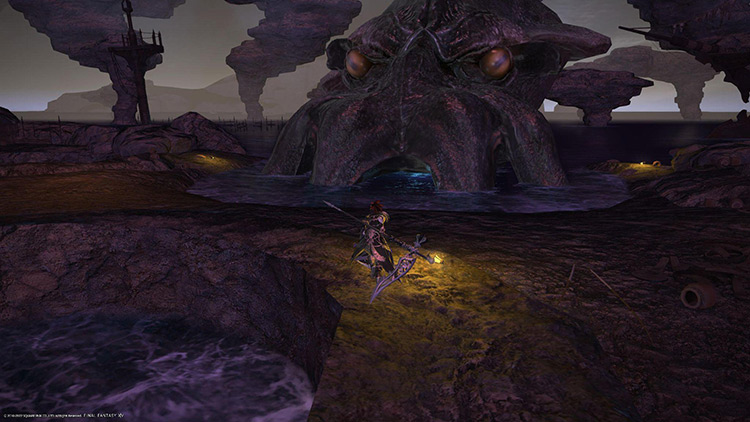
This is followed by a chase of the good Captain into the Seagrot where his ship was once moored. Several waves of weak enemies will begin spawning, simply dispatch them. Once you’ve moved into the final area, you’ll be faced with the mighty Kraken…
The Kraken
Limbs – The Kraken will spawn two different types of Adds during this battle. Each will have a special mechanic that must be handled. Tentacles – Spray water AOEs at random Players, and will also grab those who stand too close to them. This takes you out of combat for several seconds and also will place you directly into the Boss’s Ink Jet attack. Have your Healer and Ranged kill these from afar. Arms – They’ll do sweeping attacks to everyone in proximity to them, but must be defeated to prevent the Tsunami attack. Ink Jet – Frontal cone AOE from The Kraken. This not only causes quite a bit of damage but also Blindness. Get to the sides of the Boss to dodge. Unless you were tossed there by a Tentacle! Tsunami – If the Arms were not defeated, The Kraken will target a random Party member with a large AOE. The more Arms that are alive, the more of them that go off, easily demolishing your Party.
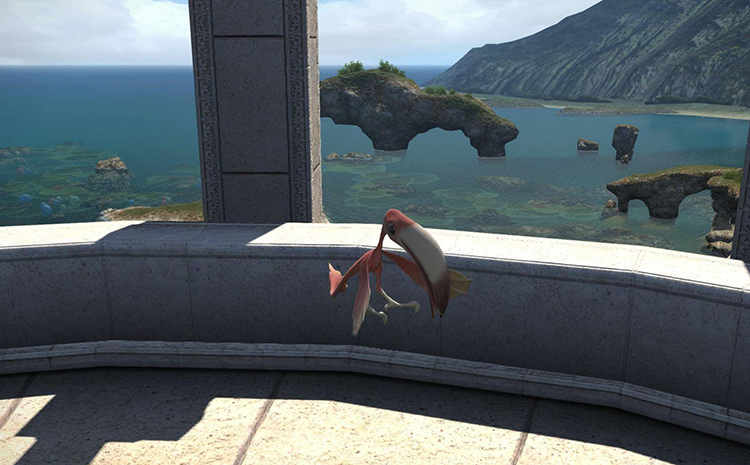
Once you’ve felled this many-armed menace, you’re free to open the Coffer and hopefully claim your Tight-beaked Parrot Minion. Or if you’re not so lucky, then keep up the farm and eventually you’ll lay claim to your new avian ally.