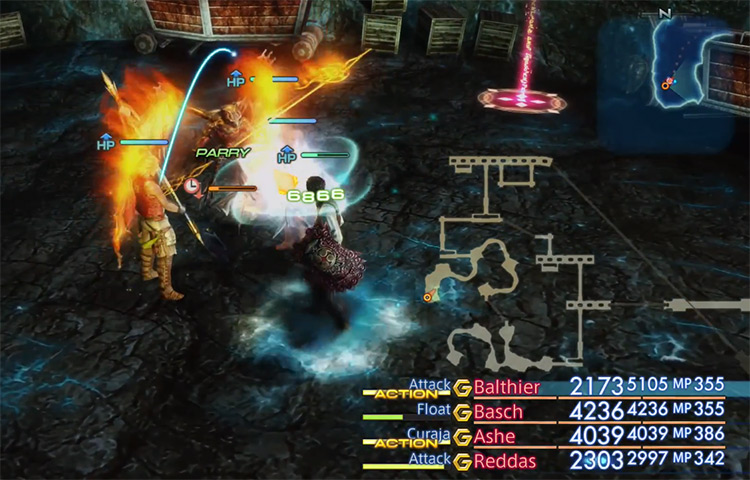
And these hunts are a good way of gaining EXP, LP, new equipment, gil, and rare loot. Doing Hunts during the story will help to alleviate some of the challenges that the main game may present. But, while some of these Marks are just as hard as the main bosses, some are even harder. I’ve compiled a list of some of the most memorable marks right here, and they’re all memorable because they’re super difficult. And these baddies don’t hold back, so you’d better be prepared for these fights.
20. Nidhogg
This enemy is arguably the hardest Rank I mark, because you’ll probably be low leveled and not expecting an enemy like this one. It regularly poisons the party, and this can spell doom quickly for ill-prepared players. When it loses a considerable amount of HP it’ll use Saber to double its attack power, and chain multiple attacks in succession. Make sure you’re stocked up on Antidotes for this fight. Because this thing is more toxic than Britney Spears.
19. Deathscythe
To spawn this enemy, you must reduce one character’s HP to below 10% HP – and that’s probably the hardest part about the fight. The enemy will attack with MP-draining and Dark abilities. And it’ll sometimes use Doom, so be careful of that. It’s weak to Holy and curative magick – so set up a Reflect and cast Cure spells on it and you’ll be fine.
18. Cluckatrice
This thing doesn’t look very intimidating. But its difficulty lies in the fact that it’s accompanied by three Chickatrices. The Cluckatrice will run out and attack to defend its young, and it has the Haste status by default. Plus it can also Slow and Petrify characters, so it’s advised that you make quick work of this thing before it wipes the team. The best way to deal with all four enemies at once is to use Quickenings. After that, mopping up the survivors should be easy – and you’ll land that job at the fried chicken joint in no time.
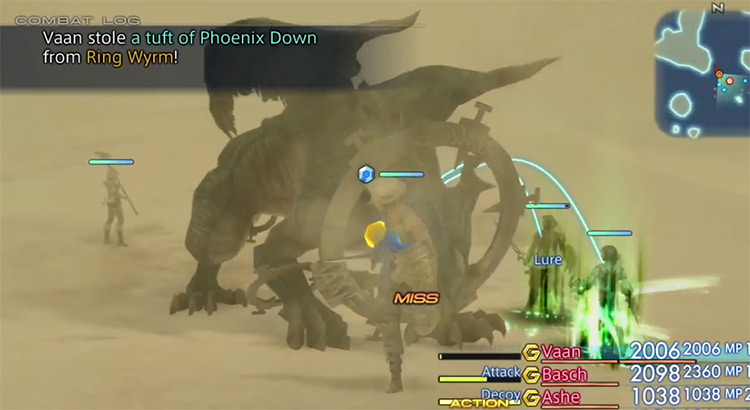
17. Ring Wyrm
The Ring Wyrm hunt uses area of effect attacks that inflict status effects on everyone, such as Disable, Sap, and Immobilize. It’ll also use Restore when it’s HP is halved, which will heal by 30%. Once it has used Restore, its attacks will be unblockable by shields – so be ready for a fight. This monster and I are both weak to fire, so summon Belias to be your big brother for the fight. Then you’d just stay healed up and buckle down for a fairly long brawl from the sidelines, as Belias does the real fighting.
16. Marilith
This nod to the original Final Fantasy starts the battle with Protect, Shell, and Haste. It attacks fast and can inflict Slow and Sap. It also ignores evasion, so avoiding attacks will be near impossible. Magick won’t work either because it’s immune to all magic elements, except water, and it absorbs fire. That said, Marilith is susceptible to Blind. So you can keep one person up front as the bait while the other two stay back healing and attacking.
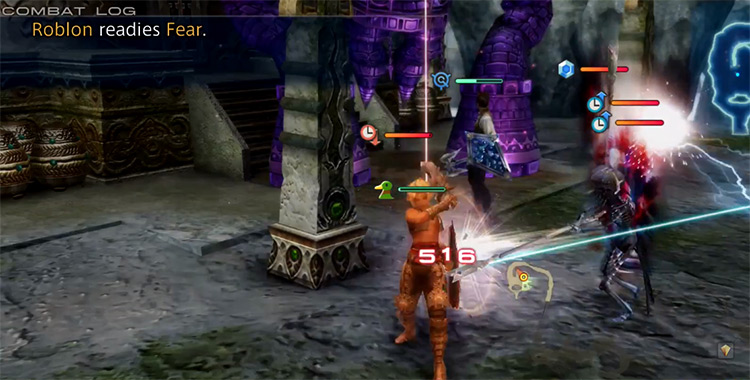
15. Roblon
If the party isn’t properly leveled, then this fight will take a long time. Roblon casts plenty of elemental spells, and uses Fear to reduce your MP to zero. Which sucks. The hardest part about this fight is that there will be dozens of Dead Bones that’ll keep spawning. And you’ll have to deal with all of them first, if you want to have a chance against the main guy. There isn’t much strategy to this one, though. Just make sure you’re ready to exterminate every single skeleton in the area before you engage the mark. Dig up graves too. It’s only immoral if you think about it too much.
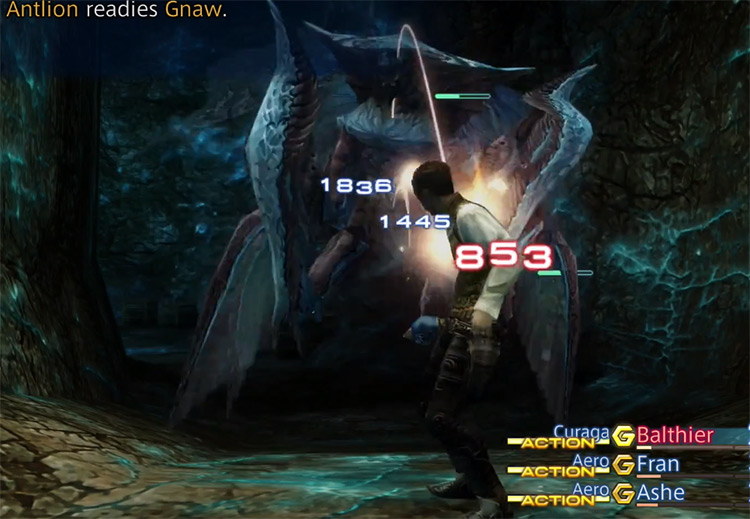
14. Antlion
This bug hunt is surrounded by Killer Mantises, and these are the worst part about this fight. The Antlion can Cannibalize and eat the other Mantises to heal itself, and to increase its level. But the hardest part of the fight is just dealing with all the smaller enemies and not getting overwhelmed. If you have the Esper Chaos then you can deal a big chunk of damage to the group, because they’re weak to Wind. Or another great strategy is luring the baddies away from the area one by one, and dealing with them individually.
13. Orthros
Using physical attacks on this thing won’t get you anywhere. So Magick will be the way to go. It uses spells that can Slow and Immobilize the entire party, along with other statuses with its Mythril Bubbles. Fire magick is your best friend here. Blast away while setting up buffs like Faith, Shell, and Haste, and you should be able to make quick work of this discount Garbodor.
12. White Mousse
This mark can be accepted pretty early on in the game, and will likely destroy you. It uses area of effect Water spells, physical attacks, and can cause Blind/Slow. The difficulty here is that you often won’t be ready to fight a monster like this so early on. So as a tip, wait a bit before taking this one on. You can use Blind and Berserk on it to stop it from casting all its spells, and then you’d just deal with the physical hits. Besides, how badly can dessert hurt you?
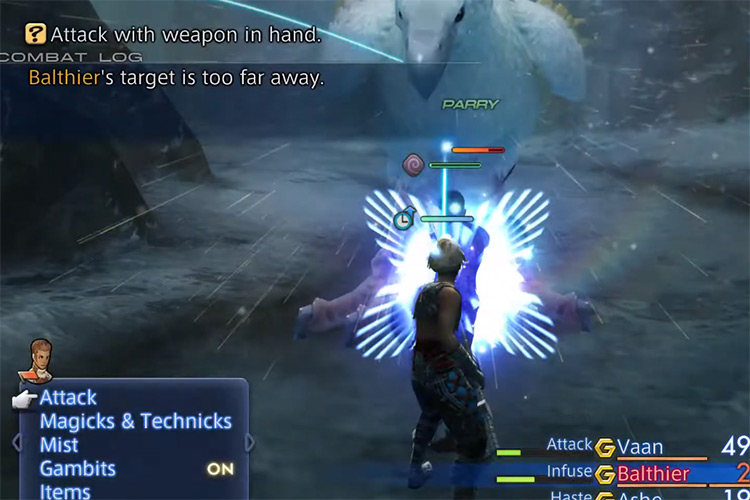
11. Deathgaze
This mark has the capability to cast Reverse on itself – which causes damaging attacks to heal, and healing moves to damage. This can be very dangerous if you have gambits setup to automatically attack. Because before you know it, you’ll just start healing the thing. It can also become immune to physical attacks, and it casts really powerful spells such Bio, Flare, and Scourge. Not to mention that Deathgaze also frequently uses fire magick, and can cast Renew which will fully heal it, throwing you back to the very start of the fight. If you have the Renew and Reverse spells, then this fight can be over very quickly. Cast Reverse then cast Renew. This will put the mark at 1 HP, and a simple Cure spell will finish it off. Using its own tactics against it… I bet this crazy dragon didn’t think of that.
10. Diabolos
Diabolos has the capability of setting up an auto-counter barrier when its HP reaches 60%. This is the worst thing that can happen to someone like me, who just lets the game go on auto-pilot. This barrier will inflict damage to the team for every attack delivered. And to top it off, once Diabolos reaches critical health, it’ll become immune to physical attacks and cast Pyromania – dealing high fire damage to the party. It can also use Curse, which will inflict Confuse, Poison, Disease, and Sap to all targets in range. The only thing you can do here is setup buffs before the fight, and go in with the intent to kill. Equip fire resistant armor and rip its wings off as quickly as possible.
9. Gilgamesh
The first phase of this fight isn’t too bad. Specifically if you can take out Enkidu first, and then focus on Gilgamesh. The second fight is when it gets serious. Gilgamesh can inflict Sleep, Disable, and Break. And when he reaches about 30% HP he can setup immunities and instantly kill characters. Make sure to Steal as much from him as possible after mid-fight cutscenes, because the Genji Armor is very powerful (if you can get it). The goal here is to outlast him, and show him that your party is truly the greatest in all the world!
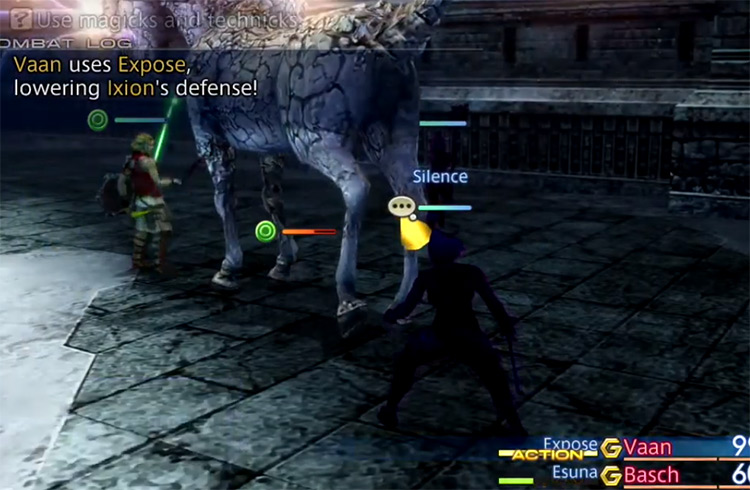
8. Ixion
This horse doesn’t deal a lot of damage. But if you think that’ll stop it from stomping you out, well, you’re wrong. It can cast Fear, which will delete chunks of your MP fast. And if you try to inflict a status effect on it, Ixion can Purify. Its most powerful attack is Thundaga – and it can teleport around the arena as well. So bring lots of rubber clothing to this fight to resist the lightning damage, and stay healed up with items instead of magick. When Ixion gets to a point of pretty low HP, it’ll really start getting angry. So once you’re close to the finish line you’d better be ready to tame this horsie.
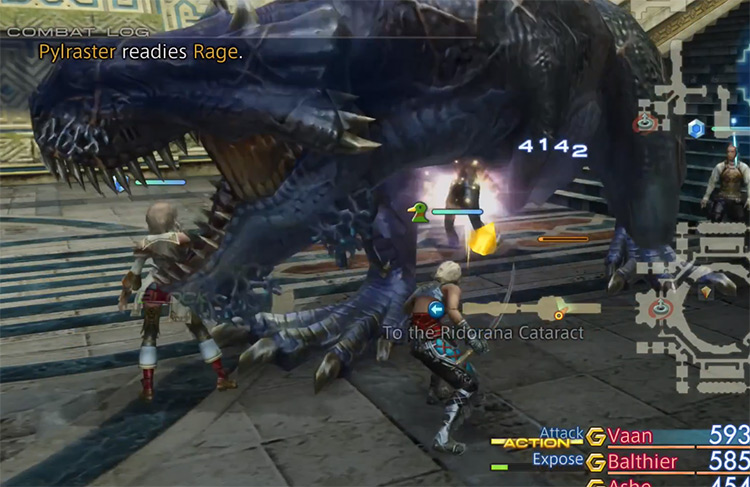
7. Pylraster
This dino mark can deal massive damage with its Crushing Fangs attack, which will deal about 5,000 damage in a hit (or more). It starts the battle with Bravery and Haste, and when its HP drops to 50% it can double its level. Protect and other buffs will help you here, as will healing magick. But there isn’t much to this fight, other than hit hard and take hard hits.
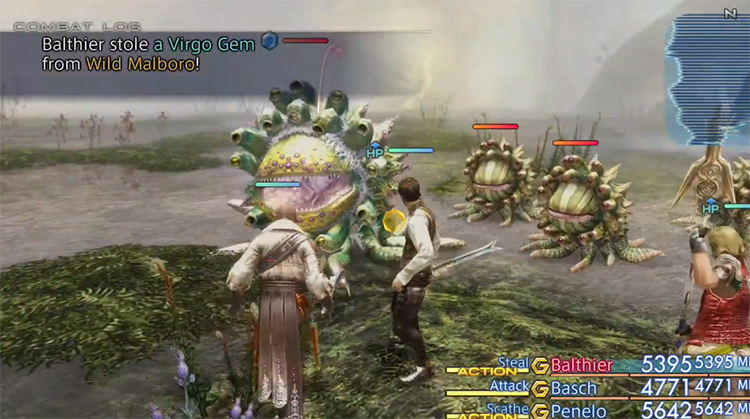
6. Wild Marlboro
The Marlboro has been a staple in almost every Final Fantasy game. And FFXII is no exception. This Marlboro mark starts the fight with a few friends, and they all can inflict a multitude of status ailments. When the mark’s HP is critical, it’ll raise its defense, increase its rate of status effect spells, setup a physical attack immunity, and can completely restore all its HP. Yeah. But it has a weakness to Wind Magick, so come prepared with some of that. Remedies are a must for this fight as well. And remember, smoking kills.
5. Trickster
True to its name, this thing really is a trickster. Catching it is a challenge in itself, as it’s very fast and will be invisible when you’re not near it. Its attacks hit hard and fast as well. When its HP drops low enough, it’ll start to cast Choco-Comet and setup a physical immunity. While in this state, it’ll also be healed by all elemental magick except for one, which changes randomly. So you’ll want to bring as much magical variety as possible. The best strategy here is to use Sleep on it first to calm it down. Then whittle it down until it’s time to use magick. Unfortunately, it’s hard to suggest how to approach the magick damage. I like to just guess with low level spells until I find the right one, then cast higher-level spells with that same element. Ain’t much, but it’s honest work.
4. Fafnir
Fafnir starts the battle with mainly two attacks: A regular physical attack, and Rake. When it starts taking some damage it’ll use White Breath, which has the chance of inflicting Stop. It’ll also cast Sleep on the party too. When its HP drops to 50% it’ll cast Shock, which can deal around 3,000 damage total. Not huge, but definitely something to watch out for. And then when its HP is critical, its attacks will start to chain – and it’ll use White Breath more frequently. All these things turn it into something very dangerous, very quickly. If Fafnir manages to get Sleep off on the party, then your chances to beat this thing will be very slim. I always hated this mark, and I was only able to beat it by keeping two party members at a distance, while one stayed up front to be the meat-shield tank.
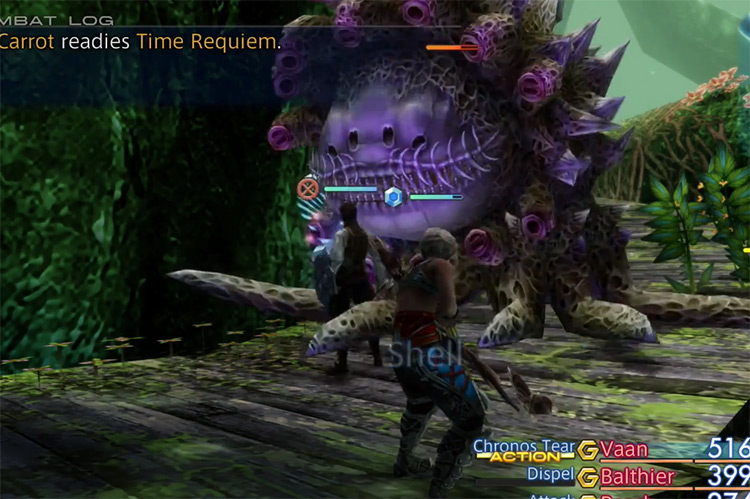
3. Carrot
Carrot is a variant of the Marlboro enemy. So it can inflict a plethora of status ailments pretty quickly. After losing 50% of its HP, it’ll also double its level and start to inflict massive damage. Plus its defense increases drastically at that point, and its attacks can deal more than 4,000 damage – so killing it quickly is a must. Like the Wild Marlboro, Remedies are good to have here. And Espers are immune to status effects, so that’s an option to try out as well. Fortunately, Carrot is an undead monster. So curatives will hurt it. That means a good way to deal damage is to run in and throw X-Potions at it like you’re Simon Belmont and pray for the best.
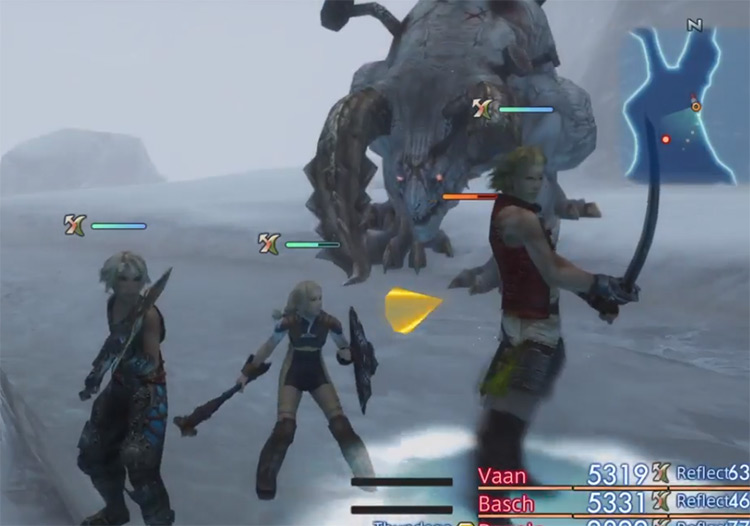
2. Behemoth King
This thing is just a monster. A legendary beast that has existed throughout so many Final Fantasy games. And here it is again in Final Fantasy XII. It can cast Slow on the entire party, but more notably, it can also cast Ardor – which is the most powerful Fire-based spell in the game. On top of that, its physical attacks hit like tank shells. And it can use White Breath as well. After some time has passed in the fight, it’ll set up a physical barrier, and after two minutes it’ll switch to a magick barrier. You’re gonna want to come into this fight focused and ready. Genji Armor, ultimate weapons, and a good gambit setup. One good strategy for this fight is to cast Reverse and Decoy on one character, so that everyone can attack safely. Then switch off between physical and magical attacks when its barrier changes – you’ll make it out of this one alive, with some strategy.
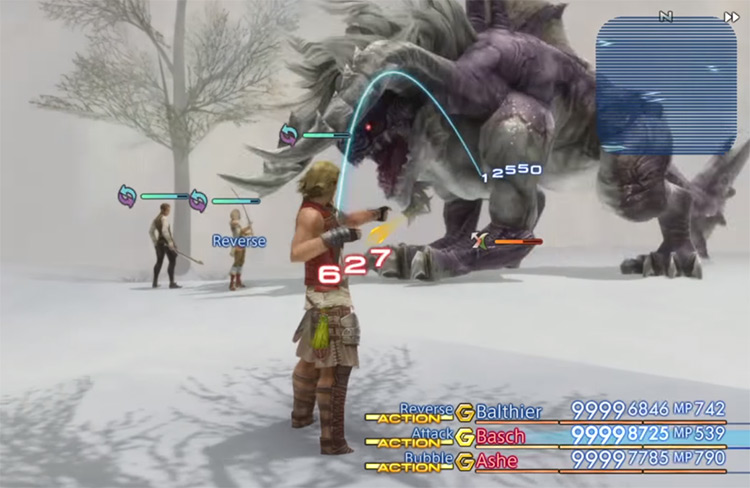
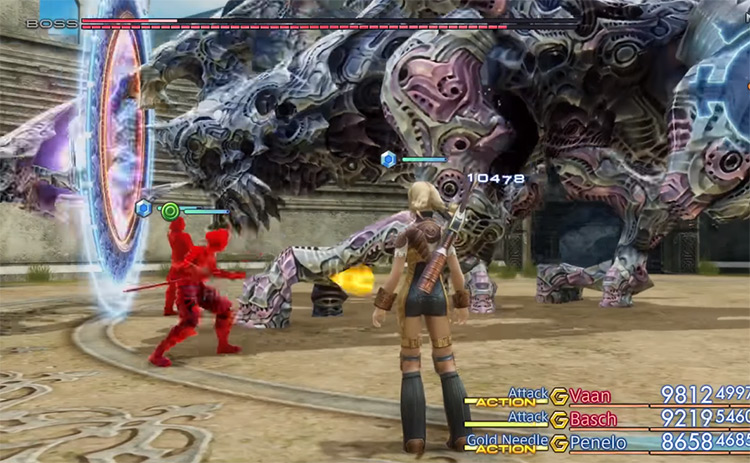
1. Yiazmat
It should be no surprise that Yiazmat is at the top of this list. With an average battle length of a measly 2 hours, this beast is infamous for its unnecessarily large HP stat (50,112,254). The arena it dwells in is littered with traps, and it can do a multitude of things to your party, ranging from attacking the whole team at once to just instantly killing individual characters. Its strategies constantly change according to its HP, and if you try to back off to regroup with your party, it’ll buff itself to the max. I’ve given out small tips for every hunt in this article. But for this one? You’re on your own. Maybe check some forums for some advice. And if you can manage to defeat it, you’ll be named the greatest hunter in all of Ivalice.