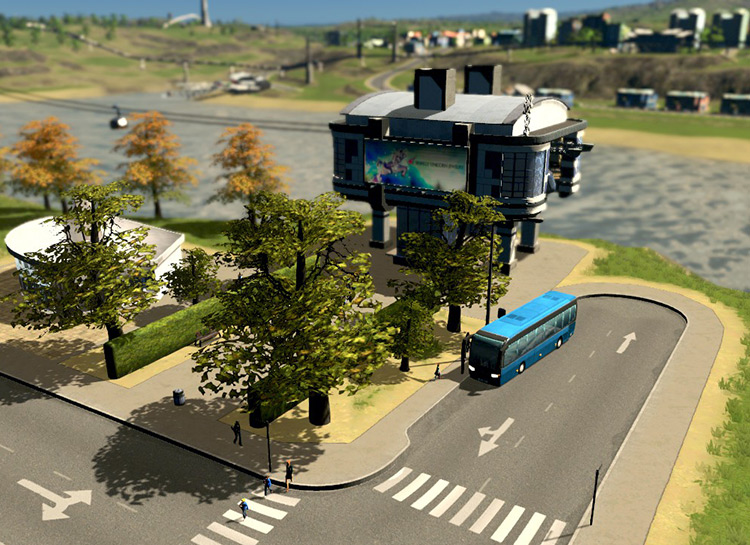
Setting up this useful mode of transport is really simple, and only involves two steps:
Placing the cable car stops Connecting them with cables
Step 1: Placing Cable Car Stops
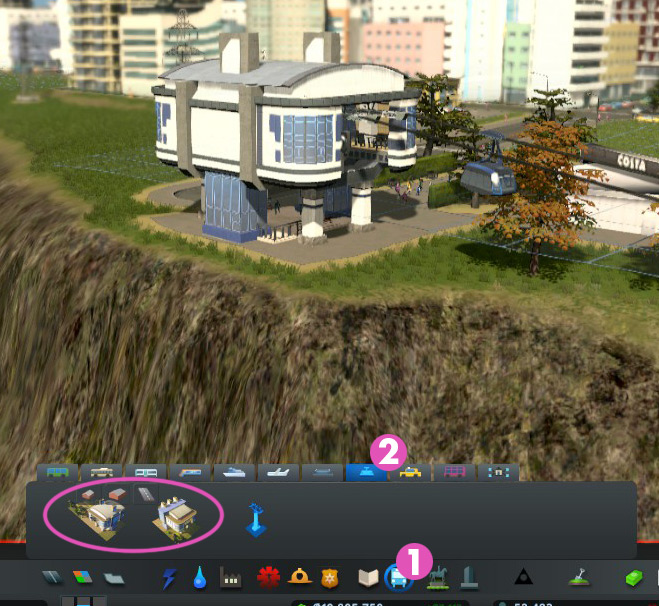
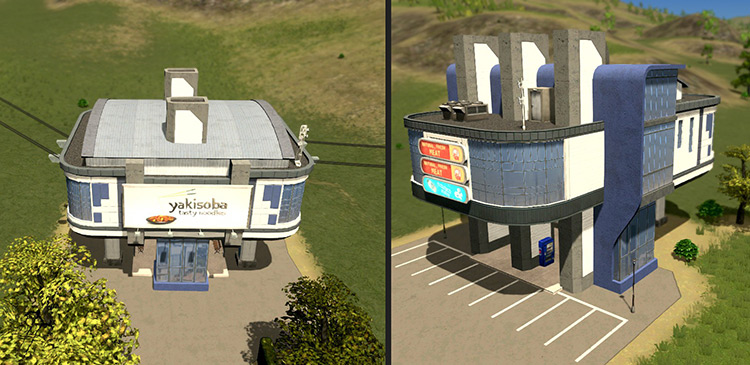
Open the Transport build menu, and click on the Cable Cars tab. There you’ll find the cable car stop and the end-of-line cable car stop. They function similarly, except the end-of-line stop can only have cables coming out one side, whereas the regular cable car stop can have the cables pass through it. (The regular stops can be used at the ends of lines just fine as well.) Build them where you want your line to have stops. They will need to be placed roadside, as well as power and water.
Step 2: Connecting the Cables
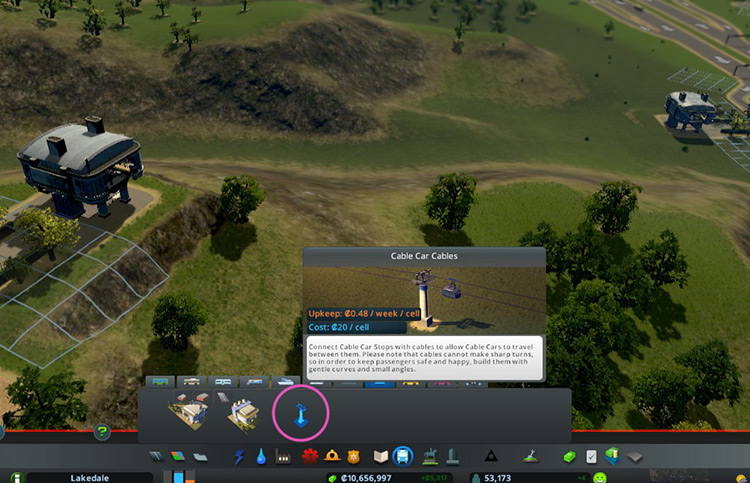
Next, select the Cable Car Cables tool and simply connect the stops using it. Once that’s done, you should start seeing cable cars go back and forth between your stops!
Extra Tip #1: Use Them to Create An Easy Path Across Difficult Terrain
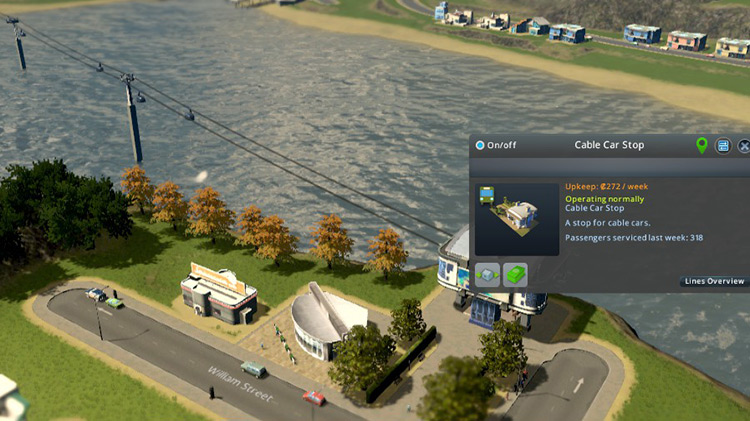
On top of being a good way to reduce road traffic, one main advantage of cable cars is that they can often provide a direct route that would otherwise be difficult to build roads through. They’re a great option for transporting people up mountains. It’ll spare you having to build comically steep roads, or run winding roads along the side of the mountain. Another good idea is to use them to get people across bodies of water.
Extra Tip #2: Use Them In Tandem With Other Modes of Transport
Cable cars work great in conjunction with other public transport systems such as buses, metros, and trains. This is especially so if you use them to fill the gaps, i.e., making a direct route where the other modes of transport don’t allow one. Make sure your cable car stops are easily accessible via local transport, such as buses and metros (and when applicable, near intercity transport like trains and intercity buses).
