But you will need to complete a few pre-requisite quests before you can accept that from E-Sumi-Yan. We’ll explain the exact process below:
Quick Step-by-Step Unlock Guide
Detailed Unlocking Guide
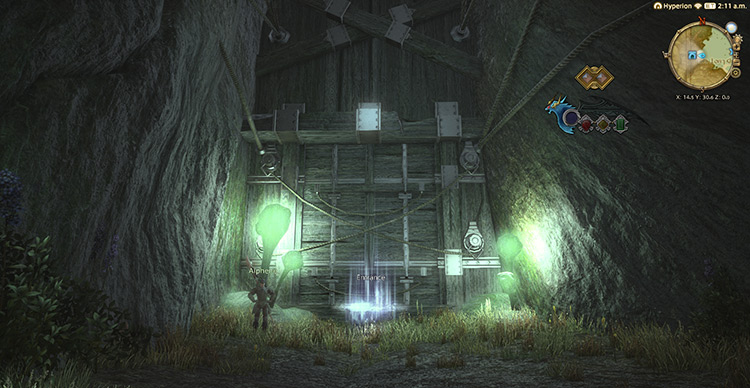
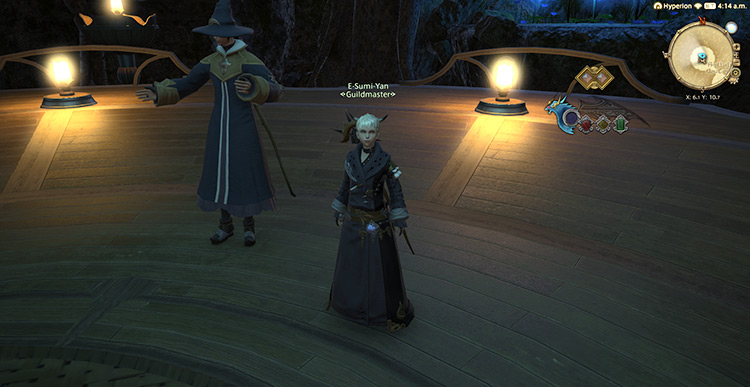
To unlock The Lost City of Amdapor Questline, you need to finish the Main Scenario Quest (MSQ) “The Ultimate Weapon” from Raubahn in Northern Thanalan (X:15.0, Y:16.0). This quest is part of the Main Scenario Questline for patch 2.0 of Final Fantasy XIV: A Realm Reborn, so you need to finish every MSQ leading up to “The Ultimate Weapon” before you can start unlocking the dungeon. Once you finish ‘The Ultimate Weapon,” talk to the Conjurers Guild guild master E-Sumi-Yan in Old Gridania (X:61, Y:10.7) and accept the quest “One Night in Amdapor” to start The Lost City of Amdapor Questline. As with every hard version of any dungeon and trial in the game, you need to unlock and complete the normal version first. When you’re done talking to E-Sumi-Yan, enter and clear The Lost City of Amdapor. To enter the normal version of the dungeon, you’ll need at least a level 50 Disciple of War or Magic job and an average item level of 55. After you clear the dungeon, the Amdapor dungeon story will be put on hold until you finish the MSQ “Heavensward” from the Guidance Node in Azys Lla (X:16.0, Y:22.0). This quest is part of the Main Scenario Questline for patch 3.0 of Final Fantasy XIV: Heavensward, so you need to finish every MSQ leading up to “Heavensward.” This might take a while due to the number of MSQ patches (2.0 to 3.0) that you’ll need to complete. Once that’s finished (or if you’ve already progressed this far in the game), go back to E-Sumi-Yan and accept the quest “One More Night in Amdapor” to continue the story and start unlocking the hard version. E-Sumi-Yan will tell you that the elementals keeping the darkness within the lost city in check have fled due to an unknown reason. The guild master will send you to Camp Tranquil to meet with the Elder Seedseer’s younger sister to determine a plan of action. Talk to Raya-O-Senna in the South Shroud (X:18.7, Y:27.0), where she will tell you about a different power that may have laid dormant within the city. Despite your valiant efforts in getting rid of the darkness at the heart of the lost city, this dormant force has awoken and rattled the elementals. While the conjurers try to convince the elementals to return, speak with Alphene in the South Shroud (X:14.2, Y:30.6) and enter the lost city again to find the source of the disturbance. After your conversation with Alphene, The Lost City of Amdapor (Hard) will be unlocked. To enter the hard version of the dungeon, you’ll need at least a level 60 Disciple of War or Magic job and an average item level of 180. Since this was released way back in patch 3.2, it’s very easy to solo when you enter the dungeon unsynced with a level 90+ character. Though if you encounter this dungeon in a duty roulette, you will need to do it synced.
Quick Boss Strategy Guide
Here’s a quick guide of each boss and their rewards so you can clear the dungeon fast and easy:
Boss #1: Achamoth
Mechanics:
Proboscis: The boss’ non-telegraphed normal attack can cleave. Tanks need to face the boss away from the party. Psycho Squama: The boss will target a random player with a large frontal cone AoE. If hit, the player will be confused, making them unable to move for 4 seconds. This AoE is easier to dodge when you are closer to the boss. Neuro Squama: A room-wide AoE attack that also creates unmoving clones of players after the cast goes off. The clones will cast “Enthrallment,” a weaker version of “Psycho Squama” that will inflict a vulnerability-down debuff to anyone that gets hit. Make sure you are facing away from the boss when the cast goes off so the “Enthrallment” AoEs extend towards the edges of the arena. Dealing with overlapping “Psycho Squama” and “Enthrallment” AoEs can be very difficult, so always watch where you are looking. Toxic Orbs: A poisonous orb will tether to a random player. This orb will apply a vulnerability-down debuff and drop a poisonous puddle upon contact. Bait the orb to the edge of the arena to give your party move room to move around.
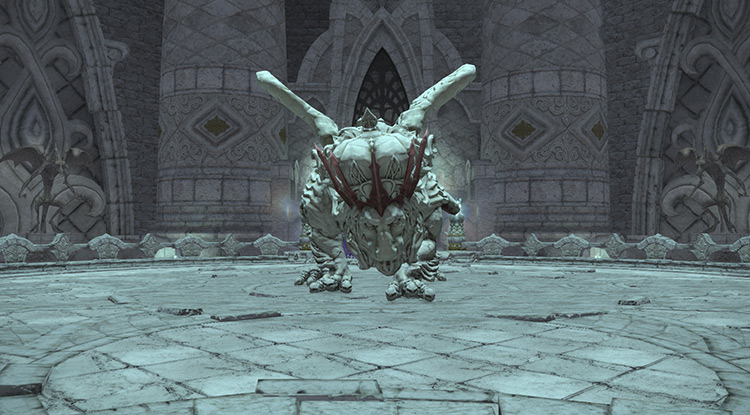
Boss #2: Winged Lion
Mechanics: This boss will place elemental energies (Aero and Stone) within circular wall markers throughout the arena. Players should walk over these markers to remove the markers. If these energies are left alone for too long, they will explode.
Scratch: The boss’ non-telegraphed normal attack can cleave. Tanks need to face the boss away from the party. Ancient Aero: Room-wide AoE attack that leaves air elemental orbs trapped in circular walls. Pop these markers to prevent excess damage to the party. Ancient Stone: Room-wide AoE attack that leaves earth elemental orbs trapped in circular walls. Pop these markers to prevent excess damage to the party. Ancient Holy: The boss will fly up to cast “Ancient Holy” and leave an “Arcane Sphere” mob in its place. Kill the Arcane Sphere to minimize “Ancient Holy’s” damage. Ancient Libra: A room-wide AoE attack that will inflict wind or earth resistance debuffs to all players. The debuff will vary from player to player, so keep an eye out for your debuffs while popping the elemental energies. Amdapori Gargoyle: Starting from its second cast, two gargoyles will spawn during “Ancient Holy.” Tanks should pick these gargoyles up while the rest of the group prioritizes the “Arcane Sphere.”
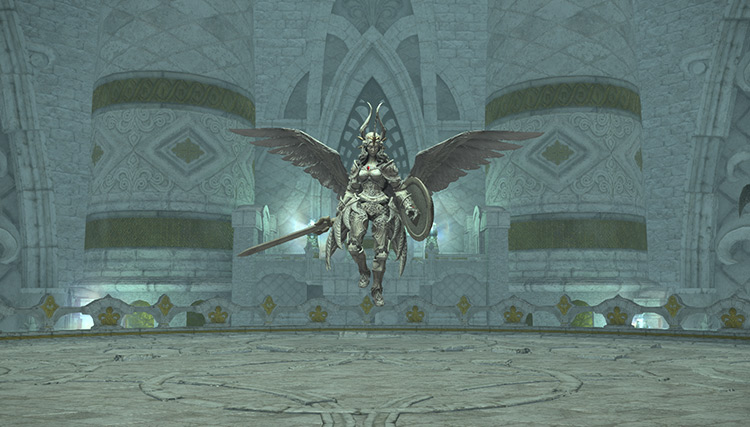
Boss #3: Kuribu
Mechanics: At the start of the fight, the boss will have a buff called “Seed of Life.” This buff indicates how many extra lives she has. You will need to kill the boss three times before the fight truly ends. Note that mechanics from previous phases will still apply to the succeeding ones.
Glory: A frontal cone AoE that should be faced away from the party. Regen: The boss will summon a large bubble that will heal herself over time. Move the boss away from the healing bubble. Use tank interruption skills to stop the cast. Cure III: A healing spell that restores 10% of the boss’ HP. Cure IV: A healing spell that restores up to 15% of the boss’ HP depending on how low the boss’ HP is.
One stack of her “Seed of Life” buff will turn into a “Vulnerability Down” buff, reducing the damage she takes. She will also gain a “Reverse” buff that changes the mechanics of certain spells.
Regen (Reversed): A dark ground AoE that damages anyone standing inside it. Cure III (Reversed): Two players will be marked by a triangle above their heads and a large red ring around them. Marked players should move away from the rest of the group and soak up the damage. Cure IV (Reversed): A proximity-based AoE marker. Move away from the marker to reduce incoming damage.
Kuribu will now gain another stack of “Vulnerability Down” for the price of her “Seed of Life” buff. She will also be able to switch between her normal and reversed stance. Remember the mechanics from the previous phases and always check if she has the “Reverse” buff or not to handle incoming mechanics properly.
Decoy: The boss will spawn a “High Putto” that will tether to the boss or the players, depending on the boss’ current stance. Either way, kill the “High Putto” as soon as possible. Decoy + Normal Stance: “High Putto” will heal the boss continuously. Decoy + Reversed Stance: A random player will be tethered and suffer a DoT.
Extra Treasure Coffers
Apart from the boss rewards, there are four treasure coffers located throughout the dungeon that you can open for more gear rewards:
(X:12.6, Y:10.3) (X:11.1, Y:11.8) (X:10.5, Y:11.6) (X:12.2, Y:9.4)