This Raid series used to be optional, but in Patch 5.3 of Shadowbringers it was made mandatory. So if you’d progressed beyond that point already, it makes sense you’d be wondering where to pick it up. To begin your adventures into the Crystal Tower, you’ll first need to have defeated The Ultima Weapon. This is the final Level 50 Quest of the A Realm Reborn Main Scenario, and it unlocks a ton of optional content. It’s where the game really begins to open up! The Outlandish Man (Mor Dhona – Revenant’s Toll, X:22 Y:8) offers the Quest “Legacy of Allag” which should now be available to you. You’ll be sent to speak with Rammbroes (Mor Dhona – Saint Coinach’s Find, X:30 Y:12). Rammbores will send you to procure four Crystals:
The Flawless Earth Crystal, located in the U’Ghamaro Mines of Outer La Noscea. The Flawless Water Crystal, located in the Sapsa Spawning Grounds of Western La Noscea. The Flawless Fire Crystal, located in Zahar’ak of Southern Thanalan. The Flawless Wind Crystal, located at Natalan to the West of Camp Dragonhead in the Coerthas Western Highlands.
You’ll return to Rammbroes, then he’ll offer the next Quest which has you off to Ul’dah. Chat with Serendipity in the Goldsmith’s Guild. After going off in search of Biggs and Wedge in Camp Bluefog, you’ll head back to Rammbroes. One short walk later and you’ll be ready to complete the first Raid of the Crystal Tower series: The Labyrinth of the Ancients. Pop it in your Duty Finder and run through. It’s pretty common in Alliance Roulette so it shouldn’t take long. This is followed by your second Raid in the series, The Syrcus Tower. With this Raid now open to you, you’re ready to go for the Wind-up Onion Knight Minion!
Life Is A Syrcus
The Syrcus Tower itself doesn’t have a ton in the way of new surprises. It is however always good to know what you’re up against. You’ll be waging battle against a number of iconic Allagans and their clones. Not to mention the clones of their clones. The good news is we’ve got you covered. Below you’ll see all those mechanics you may have done but have no clue how they function. No worries, you’ll be leading your Raid in shot-calling in no time!
Scylla
Staves – Scylla will repeatedly spawn Staff Adds. These will fire both line and circular AOEs. Can become especially dangerous if Players become frozen near them. Elemental Orbs – There are three different types of Orbs, all of which require different resolutions. Thunder Orbs need to be taken to one of the three Towers along the outside. Each Tower will require three Orbs. If the Towers aren’t fully charged by the second phase of the fight, they will Petrify everyone in the Raid. Fire Orbs will target you with a tether. After a delay they’ll rush towards you and detonate in a small AOE. These Orbs can be used to melt the Ice holding frozen Players in place. Ice Orbs will target you with a tether. After a short delay they will rush to your position and freeze you in place. Take care to position yourself away from detonating AOE. After these Players have been defrosted, they will leave behind a water puddle. Daybreak – Scylla casts a Raidwide AOE which requires all three Alliance Parties to retreat to their Thunder Towers. If the tower was properly charged, it will create a Barrier and prevent you from being petrified for 30 seconds. Ancient Flare – This causes massive raid-wide AOE damage. The only way to avoid it is to stand in a puddle. The puddles are created whenever a frozen Player is defrosted by a fire orb.
Glasya Labolas
Weights – Several multicolored AOE will appear underneath random Players. Simply bait these and move out of them to avoid damage. Circular – A ring-shaped AOE will appear around Glasya Labolas. Either stand right next to him or very far to avoid damage. Clockwork Wrights – Several Adds will appear and tether to Glasya Labolas. A Player will need to step into the circular AOE and intercept the tethers, while others destroy the Adds. These will fill Glasya Labolas’s Charge Bar. Clockwork Squires – Three Adds will spawn and the Boss will become invulnerable, tethering to the Squires. These need to be taken to the three Pads around the arena and defeated. Once they tether to the Pads, you’ll be able to move to the outer platforms and avoid the next fatal attack. Deathstream – A large raid-wide AOE that will be cast three times throughout the fight. The first time will be directly after the Clockwork Wrights are defeated, and the damage will be based on how full Glasya’s Charge Bar is. The second cast will be after the Clockwork Squires spawn, and they must be defeated. You’ll need to hop to the outside areas of the arena or this AOE will kill you. The third cast of Deathstream is identical to the first, with Clockwork Wrights. Spinning Wheels – multiple yellow circular AOEs will appear and persist in the arena. These will cause damage as long as you are in them, and eventually cause death as they travel.
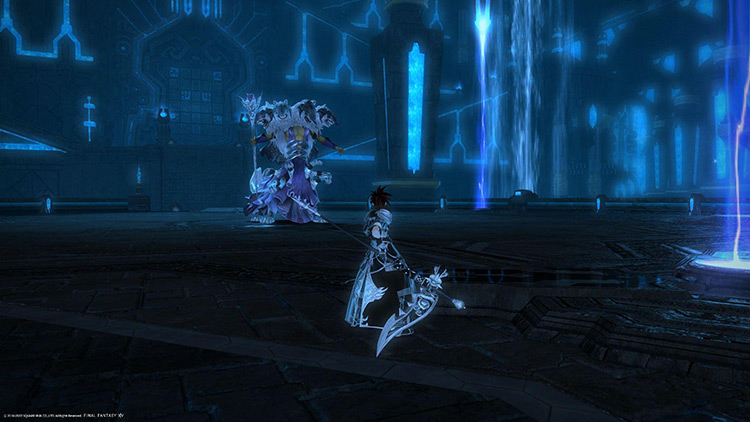
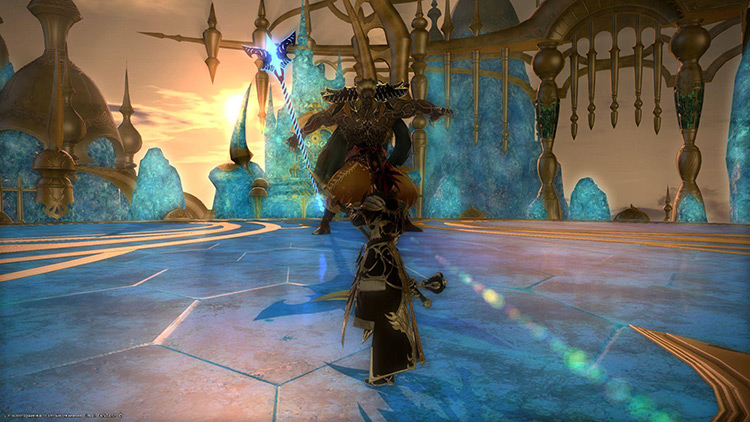
Amon
Pyrotechnics – A large circular AOE will emanate from Amon. Move out to avoid damage. Slimes – These Adds will spawn along the edge and must be killed before they reach Amon. Each Slime that reaches him will cause large raid-wide damage. Kum Kums – These colossal lich Adds will spawn at various times during the fight. They must be struck with a Purple Orb and defeated or they’ll likely kill everyone. Purple Orb – This will tether to you or another Player randomly. They should be dragged into any Kum-kum in the arena, as to inflict Mini and make them killable. If you’re touched by it you’ll receive an un-cleansable Mini debuff. Bomb – This will afflict a random Player with a debuff. Any time they’re near someone else, they’ll detonate repeatedly. Should be removed with Esuna immediately. Ice Block – Players will be encased in a large block of ice. These are required to survive the Curtain Call mechanic later in the fight. Flame Toad – Some of your Alliance will be transformed into Flame Toads, with the Fire Breath skill. They can unthaw frozen Players, and must run away from Kichinebiks. Kichinebik – These large snakes will appear at the same time Players are transformed into Flame Toads. They’ll kill any Toad they catch and should be defeated by the remaining Alliance. Final Curtain – Amon will begin casting this when he has a quarter of his HP left. You must hide behind an Ice Block or you will take fatal damage.
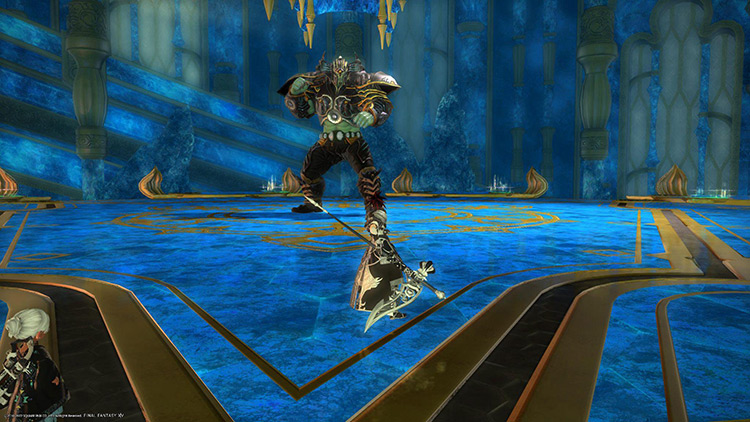
Xande
Knucklepress – A very long line AOE causing massive knockback and damage. Try to stay at Xande’s flank or rear to avoid this. Burning Rave – Several circular AOEs will spawn underneath random Players. Try to bait these away from the Boss. Allagan Orbs – Several Orbs will spawn around the arena with a circular dotted line around them. One Player must stand in each Orb, or they’ll detonate for heavy raid-wide damage. Three or four of these detonating will likely kill everyone. Meteor – Xande will teleport to his throne and begin channeling this spell, becoming untargetable. Six Stonefall Circles and one Starfall Circle will appear in the arena and must be destroyed. Levitation – Three Players will be targeted with a large circular AOE. After this is cast, circular platforms will spawn. Don’t overlap these and immediately move to the platforms to avoid fatal damage from the next mechanic. Ancient Quagga – This is a raid-wide AOE that will kill any Player not standing on the Levitation Circles. It’s followed immediately by Burning Rave so get ready to move out.
At this point, you’ve done it. You’ve toppled the nefarious schemes of the Ancient Allagan Emperor Xande. The coffer after this Boss will contain the Wind-up Onion Knight Minion with a 100% chance. The bad news is you’ll need to win the Loot roll for it against your fellow Warriors of Light. The good news is this is a pretty common Raid in the Alliance Roulette. You have no shortage of Syrcus Tower runs in your future, I promise. Best of luck!