Here’s the best methods you can use to find some:
Looting Farron Keep (1 Gem) Trading the Eleonora Axe with the Firelink Crow (1 Gem) Looting the Grand Archives (1 Gem) Farming Corvian Storytellers in the Road of Sacrifices (infinite Gems)
We’ll explain exactly how to find each Hollow Gem below, starting from the earliest and easiest Gems to obtain. We’ll also cover how to find the Profaned Coal, so you can put those Hollow Gems to use with Andre the Blacksmith.
Looting Farron Keep
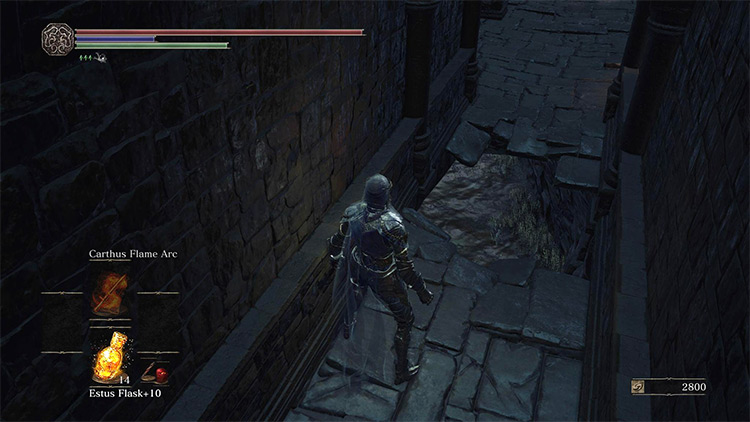
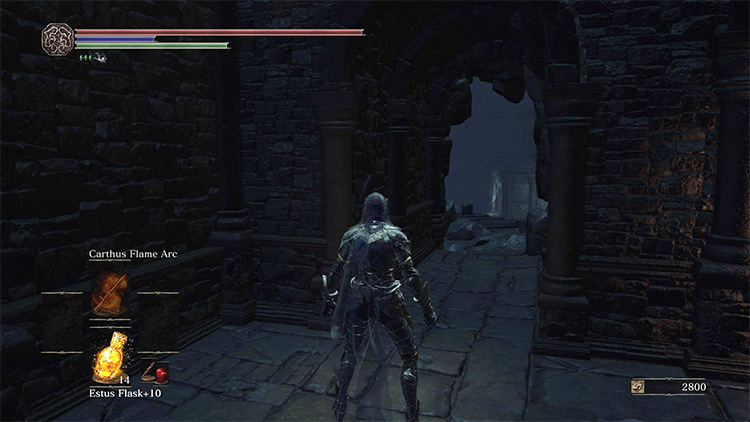
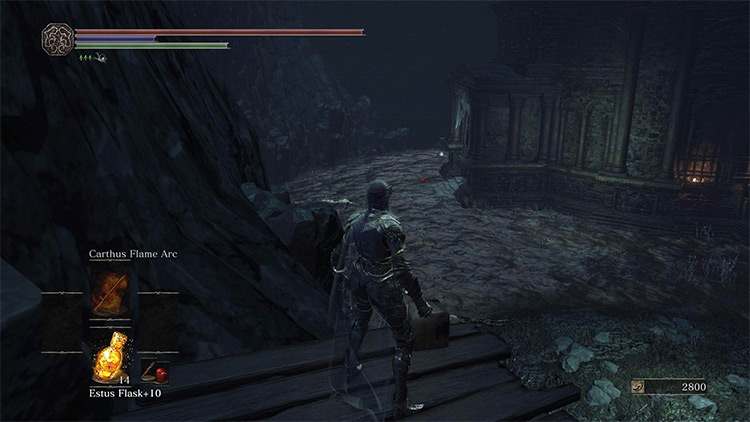
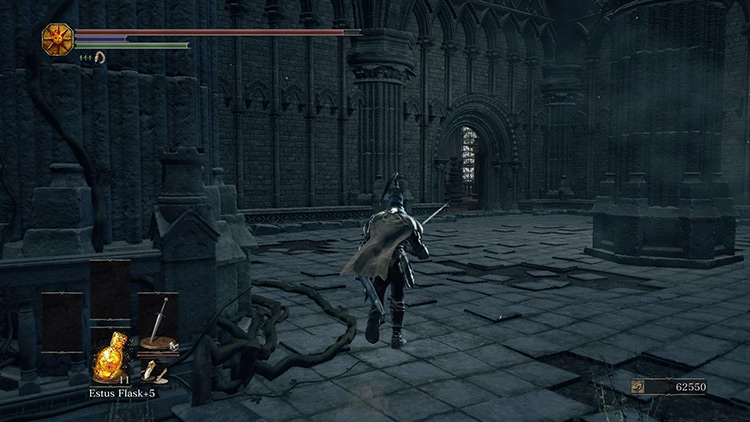
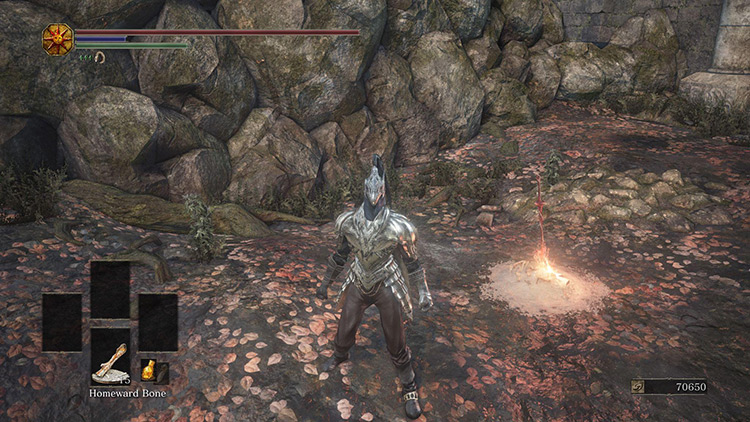
The first Hollow Gem that you can find in the overworld is found right before the fight with the Abyss Watchers. Warp to the Farron Keep Perimeter Bonfire to get started. From the Bonfire, turn around so you’re facing away from the door that leads to the Abyss Watchers fight, then walk forward until you see a hole in the wall to your right. Walk through this hole to drop down onto a hidden path below. Follow this path down until you reach its end, where you’ll find the Hollow Gem on a corpse that overlooks the swamp below. Interact with the corpse to collect your first Hollow Gem.
Trading With The Crow
To get the Hollow Gem from the Firelink Shrine Crow, you’re first going to need to collect a couple of things:
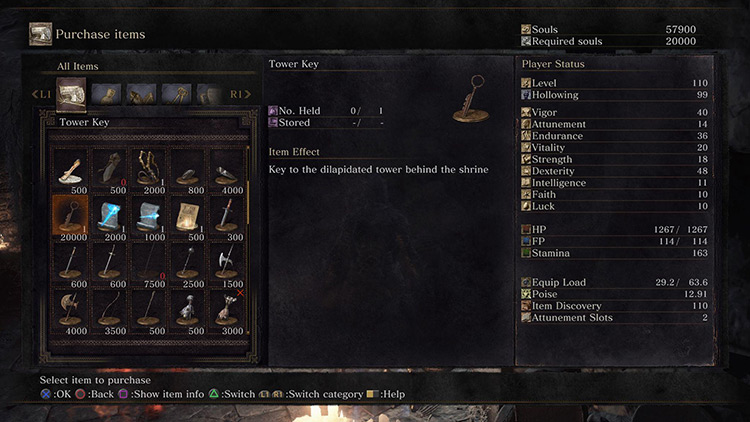
The Eleonora Axe, found in the Profaned Capital The Tower Key, bought for 20,000 Souls from the Firelink Handmaiden
Finding the Eleonora Axe
To collect the Eleonora Axe, we’ll have to kill a Monstrosity of Sin that lives next to the toxic swamp in the Profaned Capital.
To reach it, warp to the Profaned Capital Bonfire and roll off the edge of the platform to the ground below.
Walk through the hole in the wall of the building, then turn left and follow the path round to the wooden walkway.
Sprint up the wooden walkway to avoid a Gargoyle ambush and find yourself in a tight corridor.
The route out of this cluster of corridors is straight ahead, though you’ll have to cross a hole in the ground to reach it this way.
If you’ve overcome the jank of Dark Souls’ terrible jumping controls, you can try to jump straight over this hole and continue on towards the end of the corridor.
If you’re not willing to risk your life by jumping the gap, you can instead take the long way round.
Backtrack to the entrance of the corridors, then turn down the corridor to the left. From here turn right, then right again as soon as you can.
At the end of this corridor you’ll find yourself in the first corridor again, this time on the other side of the hole. Turn left here and continue until you see the exit on your right.
Outside, you’ll overlook a large poison swamp that’s full of semi-hidden Sewer Centipedes that will ambush you as soon as you step foot in the swamp.
Because of this, you’ll have to plan your route out of the swamp before you head in.
From the walkway you’re standing on, look over to the left of the swamp to see an item in the distance.
Right before the item is a part of the building that sticks out from the rest. From this angle you can just about see the entrance to this part of the building – this is your goal.
When you’re ready, drop down from the walkway and make a beeline for the building entrance.
Rush into it but don’t open the double doors yet. Use this corridor to safely deal with the Centipedes that are chasing you.
Once you’ve beaten the Centipedes, open the doors to be faced with the targets of your trip into the Profaned Capital, the Monstrosities of Sin.
One of these Monstrosities will drop the Eleonora Axe. Bait them into the corridor and kill them one by one until you get the drop.
Buying the Tower Key and Making the Trade
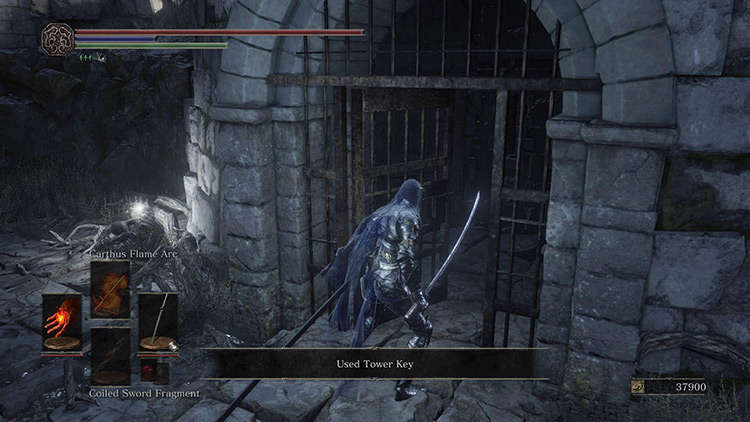
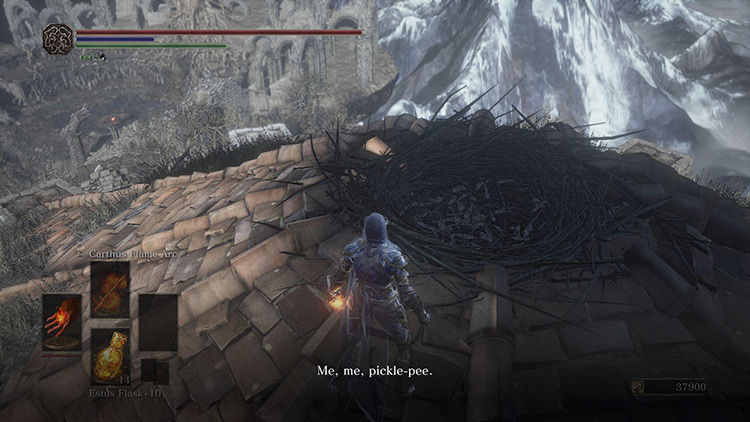
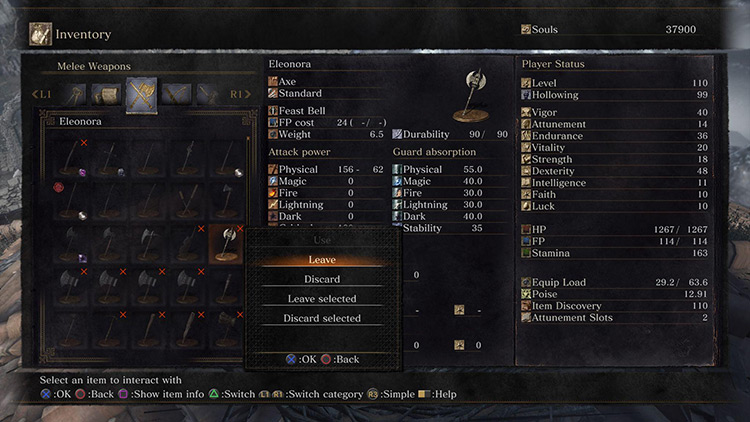
Warp to Firelink Shrine and walk towards Andre the Blacksmith to find the Firelink Handmaiden. Talk to her and open the ‘Purchase Item’ menu. In here you’ll find the Tower Key for 20,000 Souls. Buy the Tower Key, then exit the shop menu and walk up the staircase above the Handmaiden. At the top of these stairs, ignore the door to the outside and head up the staircase to its left. Walk through the arches at the top of this staircase to head outside. Then walk up the path past the trees and interact with the metal gate to unlock it with the Tower Key. Climb the staircase until you reach a bridge, then walk along it until you find a safe point to drop to the roof below. When you’re ready, roll off the bridge and onto the roof below, then walk along the roof towards the nest at the atrium’s center. Exhaust the dialogue of the disembodied voice that starts speaking to you, then stand in the nest and open your inventory. Find the Eleonora Axe and select it, then select ‘Leave’. Be sure to not choose ‘Discard’, as this will just vanish the Axe forever, leaving you without a Hollow Gem. Once the Eleonora Axe has been left on the ground in the Crow’s Nest, it’ll be traded for a Hollow Gem by the Crow. Pick up the item to claim your second Hollow Gem.
Looting The Grand Archives
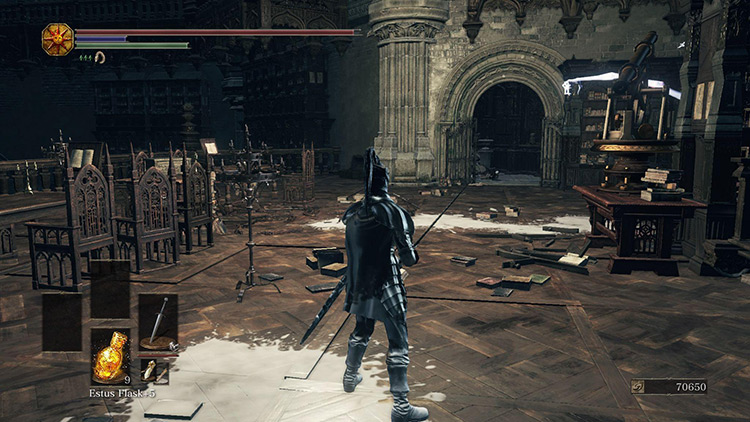
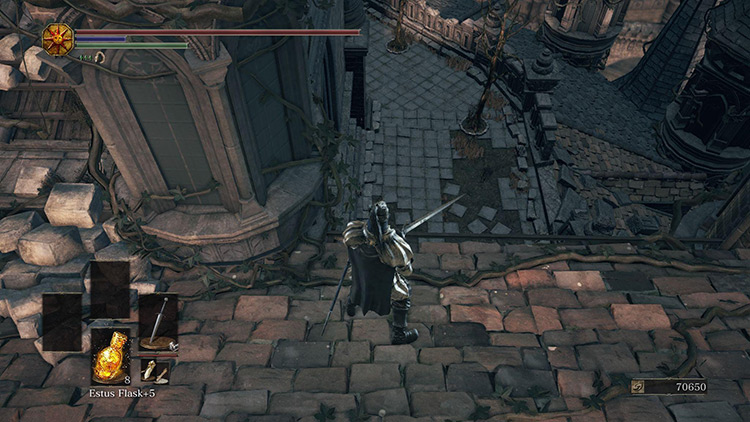
The final individual Hollow Gem you can find without farming is in the Grand Archives. The Grand Archives is probably the most dangerous mandatory area in the game, so make sure you’re familiar with it before you attempt to find this Gem. Once you’re ready, start from the Grand Archives Bonfire and head up the stairs to the right to take the shortcut elevator up. At the top of the elevator ride, step out and walk out of the door to the left. If any of the enemy NPCs are left alive here, ignore them and continue on. Walk down the stairs here and into the main library room at the end of the path. Once inside, turn right and follow the balcony around until you reach a ladder that you can kick down to form a mini-shortcut. Slide down the ladder or roll off the ledge to land below. Walk through the door on the opposite side of this small library section, then head up the small staircase in front of you. At the top of the staircase is a set of doors that leads to the outside – head through them and look to your left to see a tiny ladder that leads to a ledge below. Roll off of this ledge and onto the rooftop, then walk forward until you see a slanted rooftop to your right. Now walk diagonally across this rooftop until you reach the back-right corner, then look below to see a stone pathway that you can fall to. Drop down and turn around, then walk into the corridor ahead of you. Interact with the corpse here to pick up the final in-world Hollow Gem.
Farming in The Road of Sacrifices
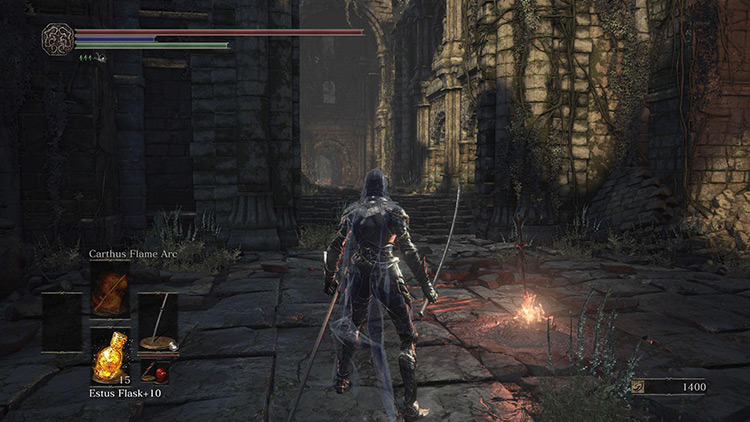
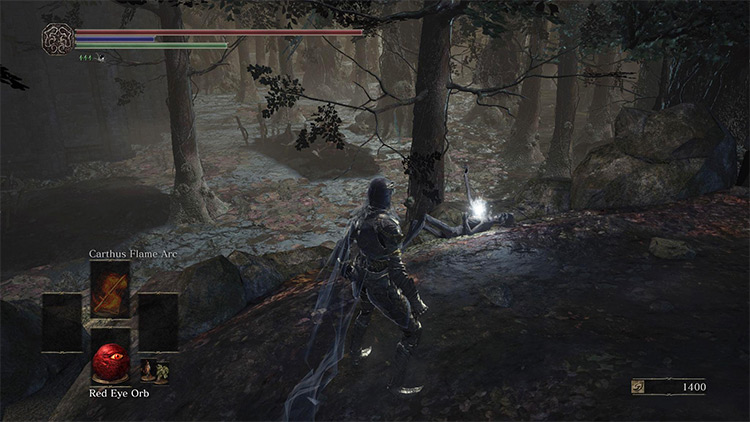
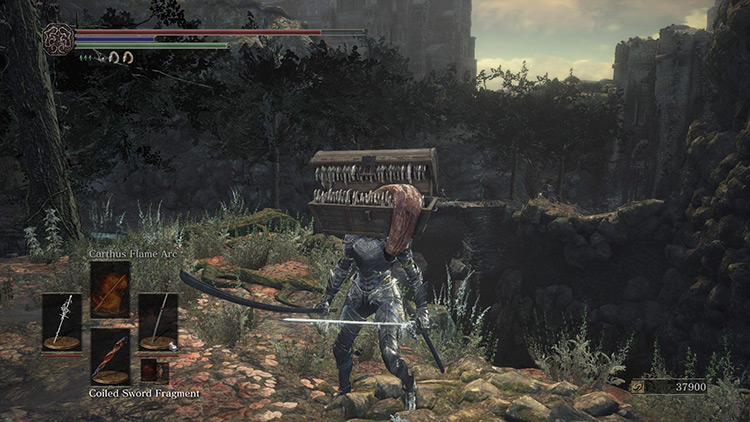
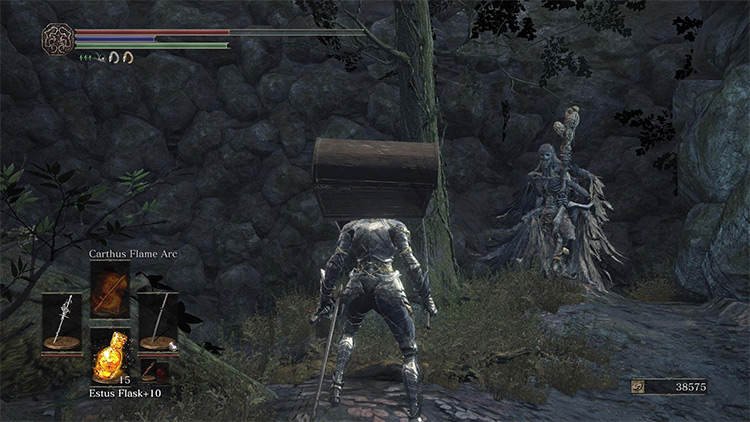
If 3 Hollow Gems isn’t quite enough, you can pick up more by farming Corvian Storytellers in the Road of Sacrifices. Hollow Gems are a pretty rare drop, so be sure to put on as much item discovery-boosting gear as you can to speed up the process. We also created a detailed farming build guide to make sure you have the best farming build you can. We run you through how to get every piece of gear that will speed up your farming. Once you’ve boosted your item discovery, warp to the Road of Sacrifices Bonfire to start the farm. Head forward into the Road of Sacrifices, and follow the path around and down past the first enemy. Keep walking past the overturned wagon, then run past the two scythe-wielding Corvian enemies. Up ahead is the staff-wielding Corvian Storyteller, the target of the farm. Kill it, check for a Hollow Gem drop, then warp back to the Bonfire before the enemies that you ran past catch up to you. The drop rate here is low, but it’s still the best option for farming – with some patience you’ll eventually find some extra Hollow Gems.
How To Use Hollow Gems
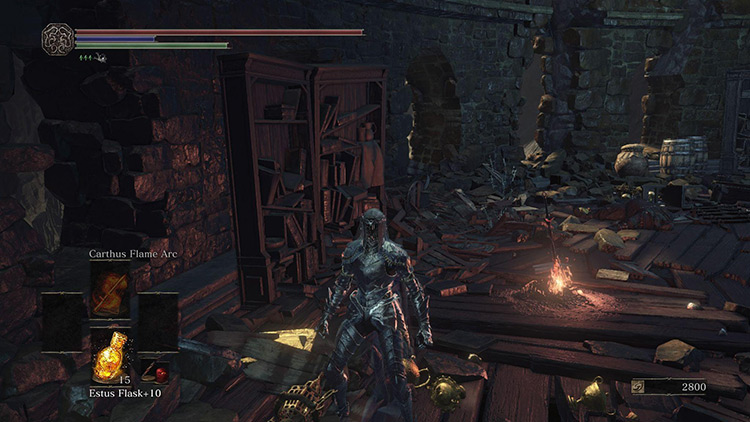
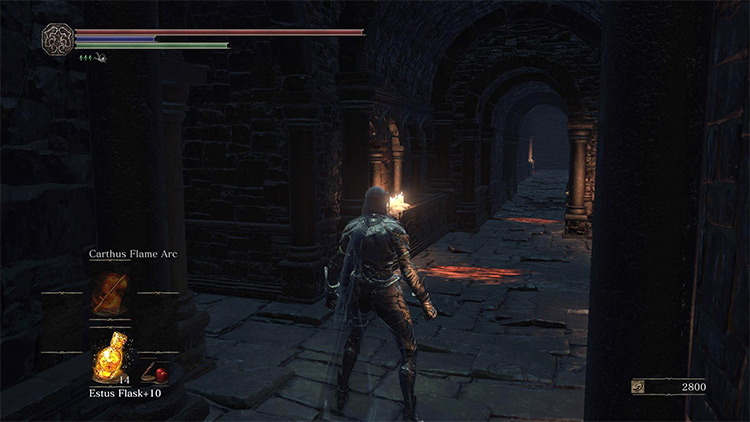
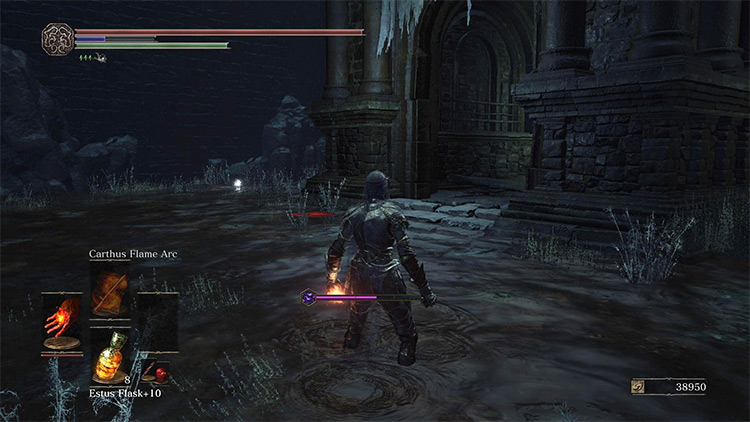
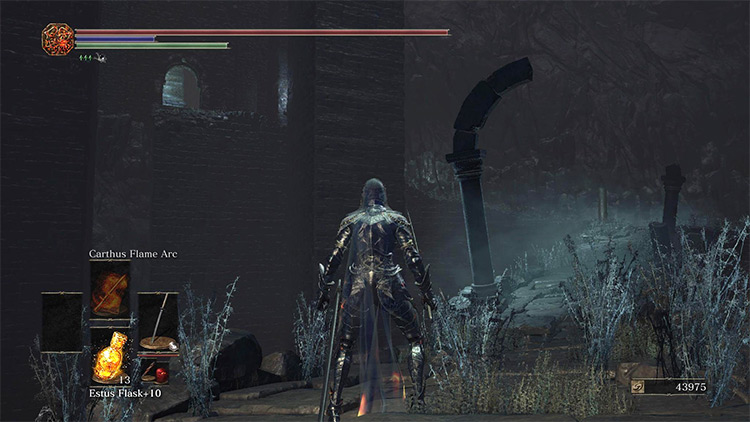
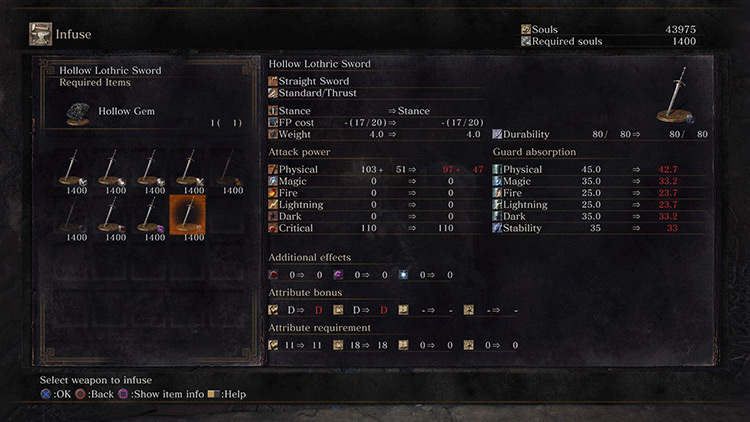
To use the Hollow Gems with Andre the Blacksmith, you’ll first need to find the Profaned Coal in Irithyll Dungeon. Start at the Profaned Capital Bonfire and roll off the platform, then climb the ladder on the far right of the room. From here, travel across the large bridge back to Irithyll Dungeon, and keep following the path until you reach the large room full of Jailers. Once you’re at the doorway to the room, get ready for the chaos that will unfold as soon as you step in. Enter the room and make a beeline for the back-right corner of the room. There’s a metal cell door here that doesn’t need a key. Quickly open it and head inside. Inside, you’ll see a large glowing item on a corpse to the right. Interact with it to collect the Profaned Coal. With the Coal collected, warp back to Firelink Shrine and head over to Andre. Talk to him and choose to give him the Profaned Coal in the ‘Give Coal’ menu. This will unlock Blood, Poison, and Hollow infusions for weapons, so you can put those Hollow Gems to good use. Each Hollow infusion costs 1 Hollow Gem, and causes the infused weapon to scale with your Luck stat, as well as give you a passive bonus to your Luck when you have the weapon equipped.