Sedatives are essential for surviving the Frenzy-inflicting horrors of Bloodborne’s end-game areas. We’ll detail exactly how to get them below.
Lecture Building Farming (late-game)
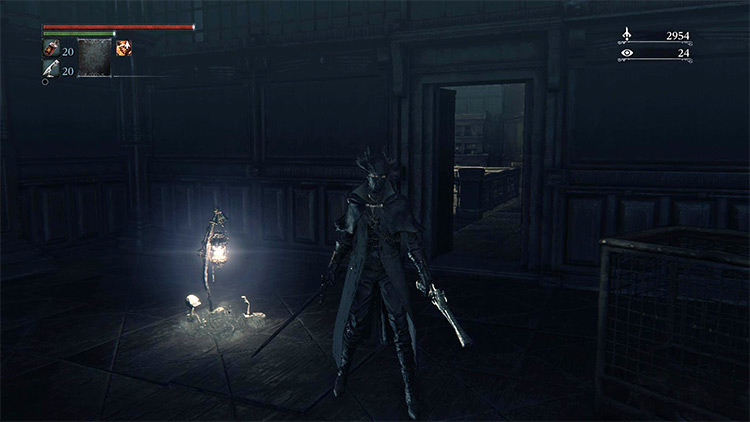
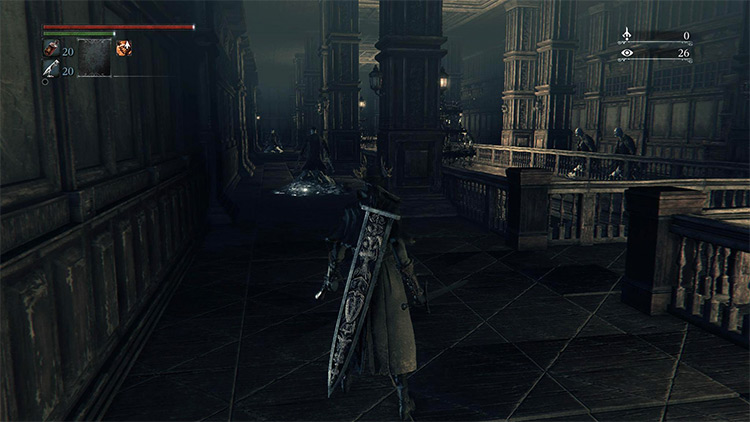
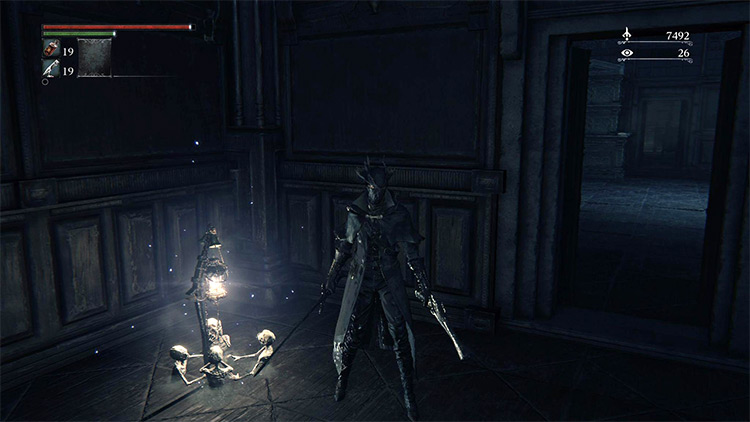
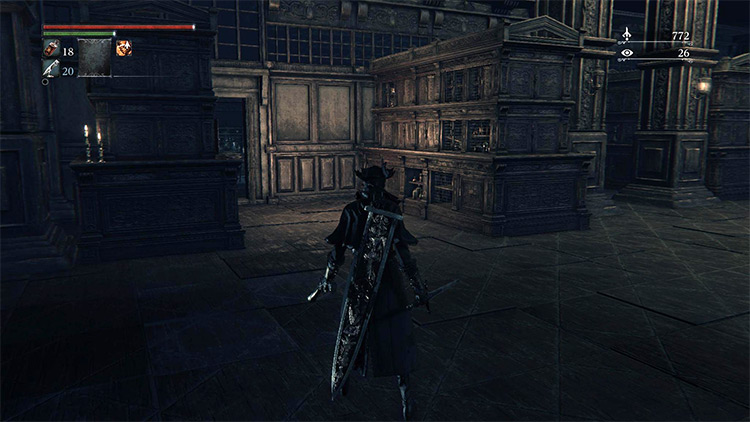
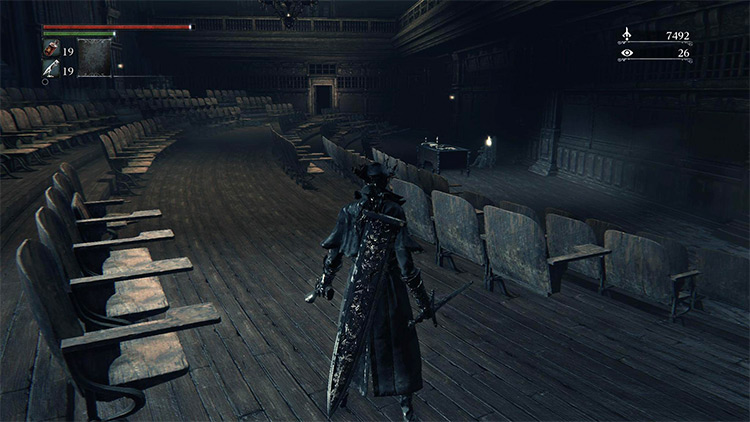
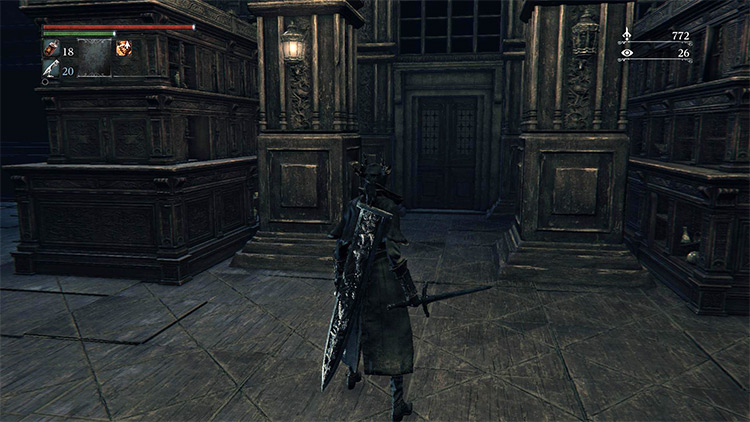
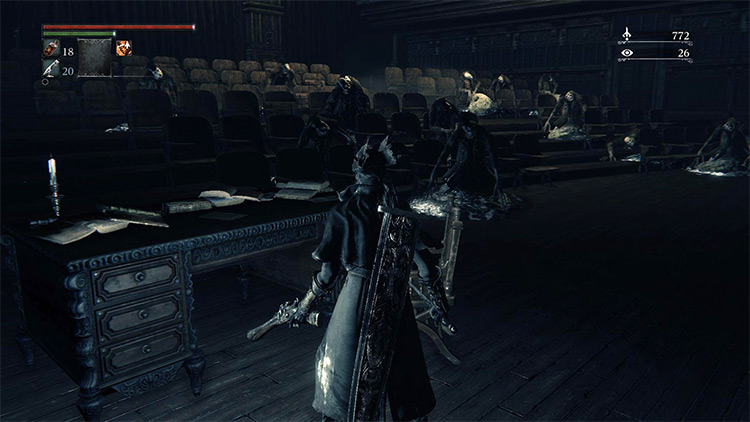
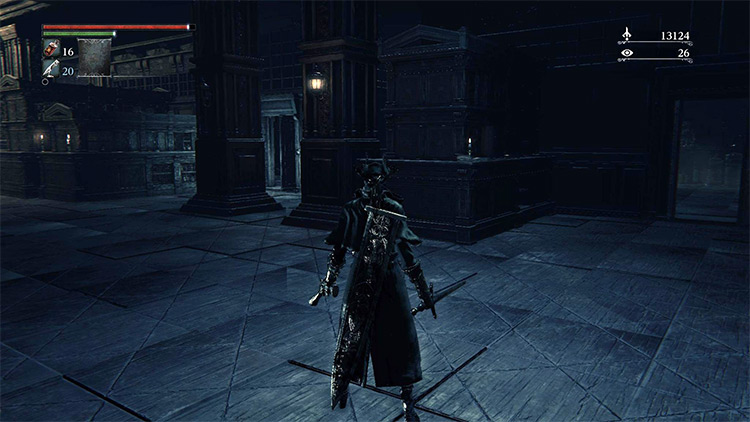
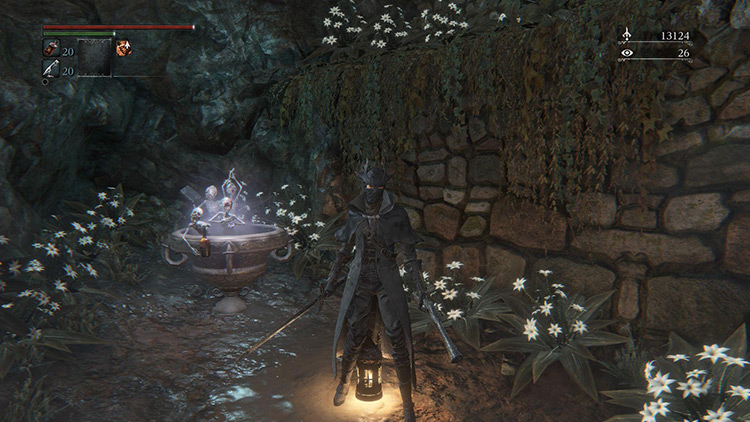
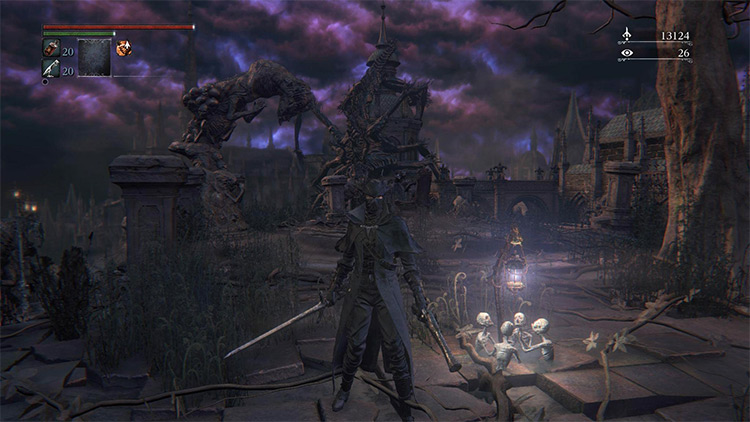
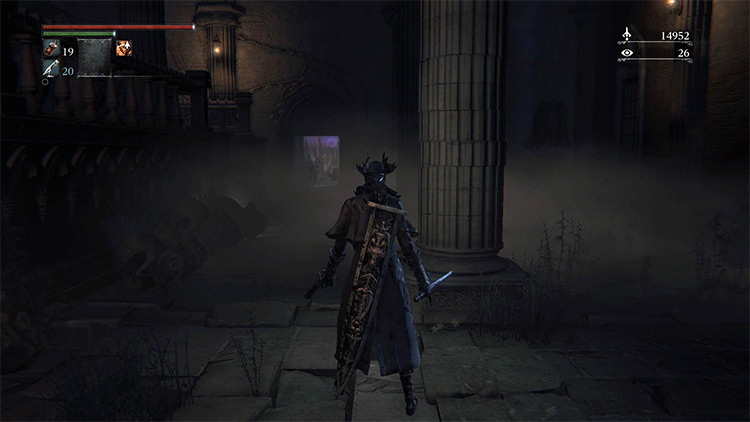
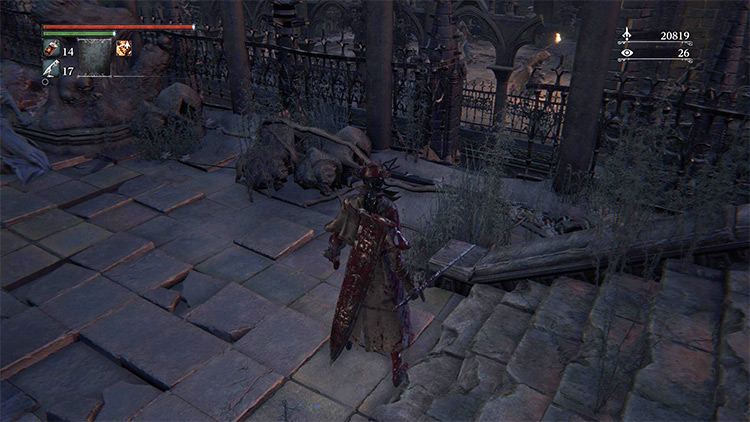
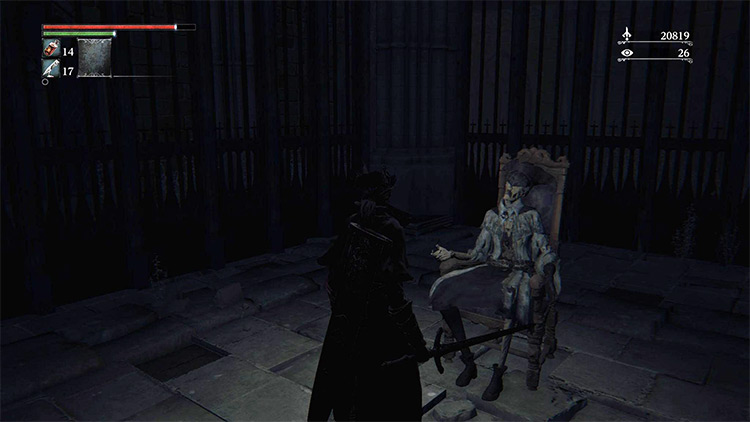
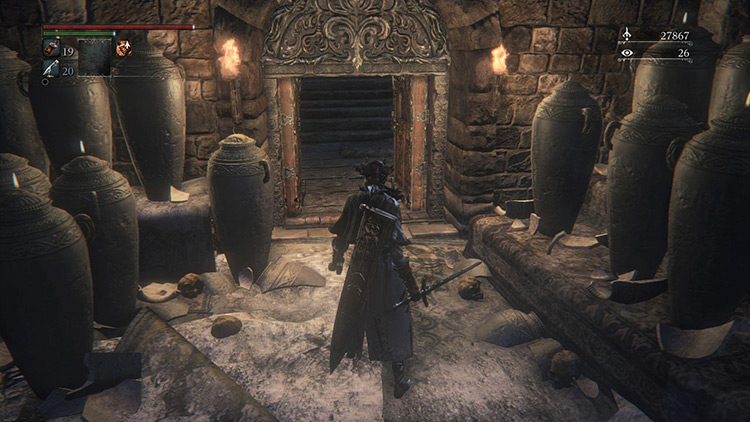
Once you defeat The One Reborn and escape Yahar’gul, you’ll find yourself in the Lecture Building, a small area that houses the best Sedative farm in the game. Starting from the 2nd Floor Lecture Building Lamp, head out the door in front of you and turn left before running down this walkway all the way to the end of the building. Ignore the Slime Student enemies along your way, and turn right at the end of the path to find a giant Skeleton in the corner, guarding a hatch in the floor. Run past the huge Skeleton and roll into the hatch behind it. You’ll find yourself in a room with a giant spider named Patches. Talk to or kill Patches to get it to move from the door, then head through it and out into the Lecture Building 1st Floor. Open the door opposite to you to find the Lecture Building Lamp. You’ve now reached the starting point of the farm. But there’s one more thing you’ll need to take care of before you can start. From the Lecture Building Lamp room, walk outside and turn right into the massive corridor. Ahead you’ll see a set of cabinets that are being illuminated by a lantern – approach them and enter the room next to it. Go through this room and out of the door on the other side to reach a deserted lecture hall. Then head towards the dead lecturer and loot the Lecture Theatre Key off of his body – you’ll need this key to open the room that holds the targets of the farm. With the key obtained, turn around and retrace your steps back to the large corridor. Turn left and start to walk up the corridor towards the far end. Keep your camera pointing towards the right wall until you see an unassuming door hidden between two pillars. Open the door with the Lecture Theatre Key, and get ready to fight off a small army of Slime Students. It’s these enemies that drop the Sedatives that you’re after, so retreat slightly and bide your time for a safe opening to run in and take them out. With them all dead, open the door to the right side of the room to open up a small research room. Open the other door in here to find yourself back in the central corridor, right next to the Lecture Building Lamp. This newly opened door will work as a shortcut for you to reach the Students on repeat runs of the farm. With the lecture hall and shortcut open, you’re now ready to respawn the Slime Students by warping to the Hunter’s Dream and back again. Sedatives are a relatively uncommon drop from Slime Students, but farming these enemies is by far the quickest way to stock up. TIP: Using the shortcut, each repeat of the farm should only take a couple of minutes, and you’re likely to get at least one Student to drop some Sedatives each time.
Buying Sedatives in the Hunter’s Dream (New Game + only)
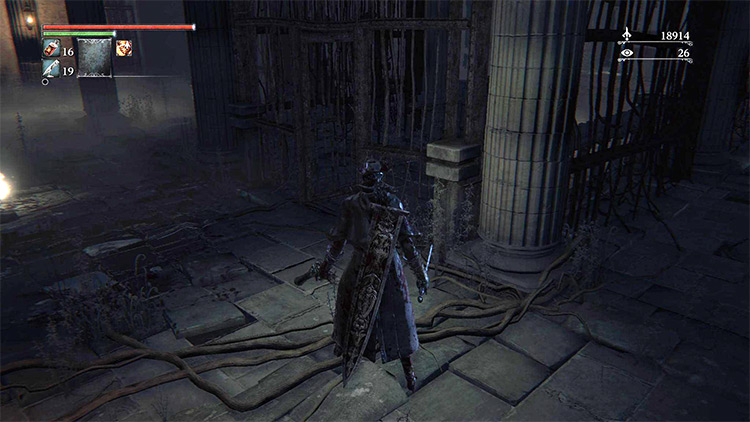
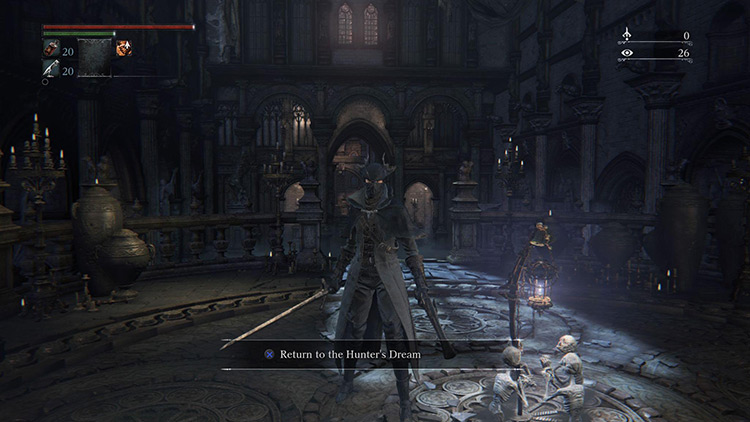
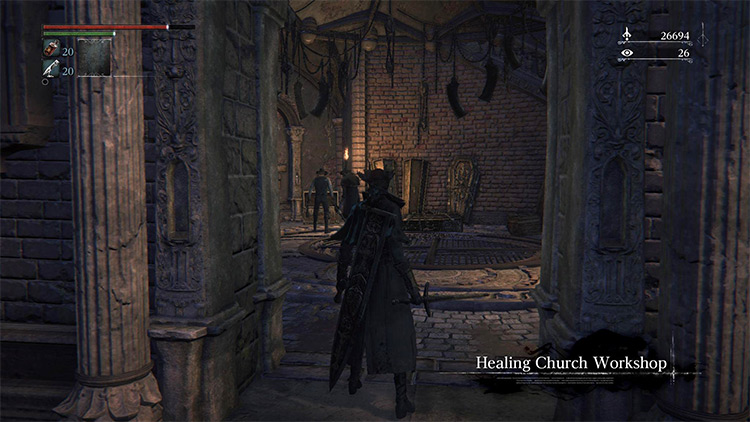
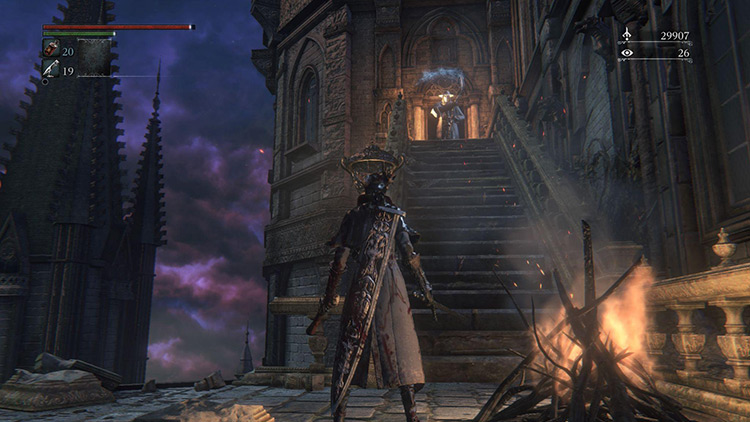
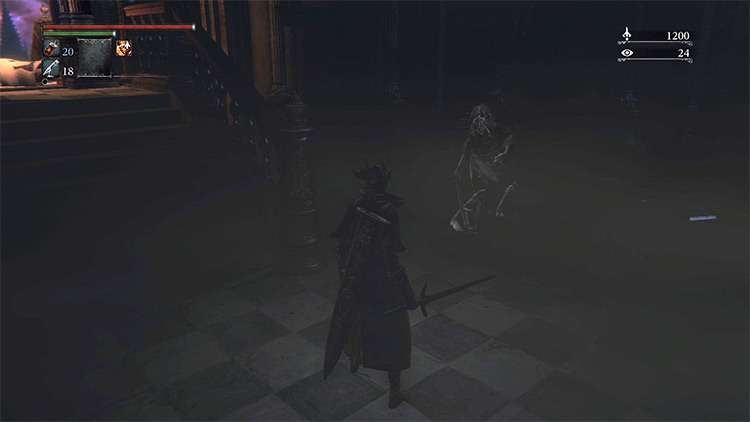
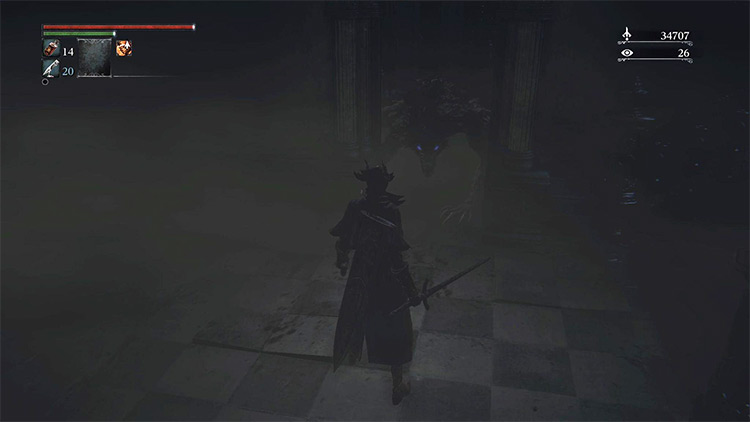
If you’ve completed your first playthrough and are looking for a quicker way to stock up on Sedatives, look no further than the Hunter’s Dream Messenger Shop. But unfortunately it’s not as simple as just buying them. To unlock the option to buy Sedatives, you’ll first have to acquire the Cosmic Eye Watcher Badge from Upper Cathedral Ward. And to access the Upper Cathedral Ward, you’ll have to grab the Upper Cathedral Ward Key from a hidden corner of Yahar’gul. So warp to the Yahar’gul, Unseen Village Lamp to get started. From the Lamp, walk down the small set of stairs to the left, then sprint down the massive staircase full of Villagers. Enter the building at the bottom of the staircase, then turn right and head out the door here. Walk down the spiral staircase straight ahead, then through the large hole in the wall to the left of the closed door. Run to the end of the corridor ahead of you and defeat the Brick Troll around the corner before walking through the metal gate to your right. Once down the small set of stairs, turn left and walk through the door to find yourself back outside. Walk down the stairs to find yourself on a small walkway. Walk up the set of stairs to your left and very quickly turn right to sprint towards safety. You’re looking for a hole in the metal railing to your right – pay attention to the railing as you run and you’ll quickly find it. Carefully step off it (don’t run or roll) to safely land on a hidden ledge below. Behind you is a large door that leads back inside – go through it and defeat the Brick Troll to your right. Roll off of this walkway through the hole in the railing beside you to drop into a cage with a corpse that holds the Upper Cathedral Ward Key. With the key picked up, warp back to the Lamp before warping again to the Hunter’s Dream. Use the gravestone to warp to the Cathedral Ward Lamp to begin the journey up to the Upper Cathedral Ward. Walk down the stairs ahead and turn right into the small corridor that leads to an elevator. Take the elevator ride up to find yourself in the Healing Church Workshop. Take out the Wheelchair-bound Rifleman ahead of you and turn left to step out onto the Healing Church Workshop tower. Walk inside, clear out the enemies, and climb the stairs to ascend to the top of the tower. In the highest room you’ll find two Flamethrower-wielding Riflemen that guard a corridor behind them. With the enemies defeated, head down this corridor and use the Upper Cathedral Ward Key to unlock the door at its end. Stepping through the door you’ll find yourself in the Upper Cathedral Ward. Turn left and up the winding staircase to find yourself on a bridge that leads to the Choir Building, your destination. Defeat the enemies on this bridge, then light the Upper Cathedral Ward Lamp behind them to give yourself a close location to respawn at in case you fall victim to the residents of the Choir Building. This building is often considered the most dangerous area in the entire game. So be sure to understand the route to the Cosmic Eye Watcher Badge fully before heading in. Climb the stairs straight ahead of you, then make a left at the giant gold doors. Sprint around the corner to avoid the Frenzy-inflicting Slugs and then head up the narrow staircase towards the Church Servant at the top. This Church Servant does a great job of blocking your way into the building, so you’ll probably have to kill it. Despite this Servant’s increased strength over its early-game counterparts, it’s still very susceptible to gun parries. So parry and riposte a couple times and you’ll gain safe entry into the building. Heading inside, turn to your left and quickly take out the Brainsucker enemy here. Almost any weapon will be able to stunlock Brainsuckers. So always rush towards them and stay aggressive to kill them quickly. Head through the door in this room to go deeper into the building, and be wary of the Werewolf to your right. Get its attention, then sprint back to the room in which you killed the Brainsucker. The Werewolf will get stuck in the doorframe, allowing for a safe and easy kill. With the Werewolf dead, head back out into the corridor and turn left before running to the end of the hallway. To your right is a door – go through it and get ready to run away from three more Werewolves. Run through the door you just came through to trap the Werewolves and repeat the trick you performed earlier. Once you’ve killed all three Werewolves, walk back out into the new area and head down the stairs to your right. At the bottom of the stairs you’ll find yourself in the main hall, and drawing the attention of one final Werewolf. You can lure this Werewolf back to the last door to stay safe, or use the wide open space to take down the Werewolf the honorable way. Once it’s safe to do so, face the doors at the end of the hall, then hug the right wall. Walk towards the doors along this wall until you find a large archway. Through this doorway is a thin corridor with a Brainsucker and an item next to a corpse. Defeat or run past the Brainsucker, and pick up the Cosmic Eye Watcher Badge from this corpse. With the badge in tow, you can finally warp back to the Hunter’s Dream and buy an infinite supply of Sedatives for your journey through the Nightmare Realm.


![]()
