Central Yharnam (Early-game) Cathedral Ward (Mid-game) Hemwick Charnel Lane (Mid and late-game)
Each of these farms come with their own benefits and dangers, so read on below to find out which is the best for you.
Central Yharnam Farming (Early-game)
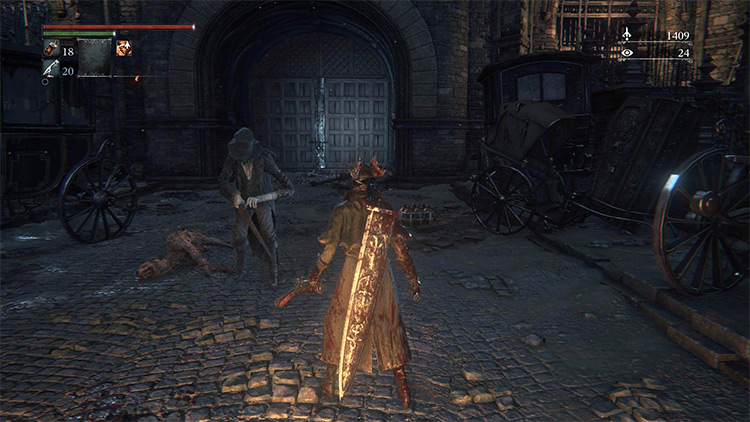
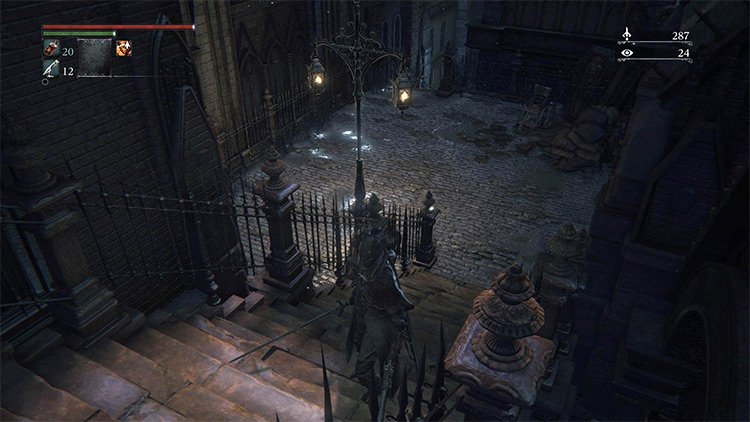
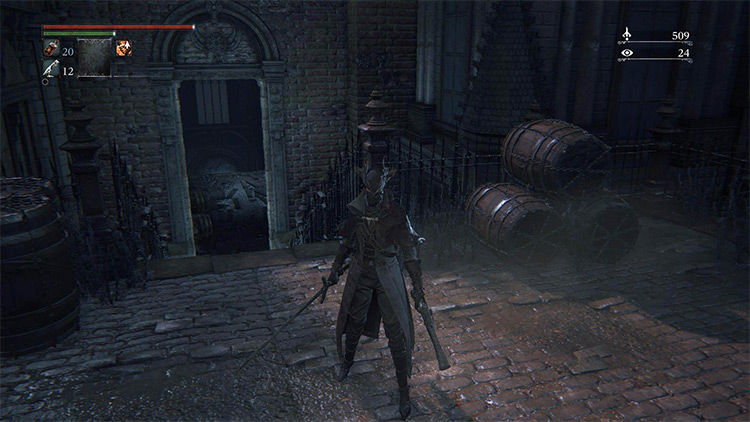
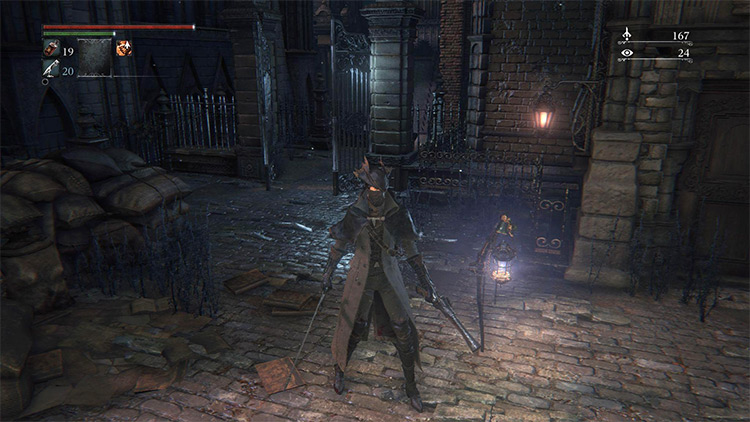
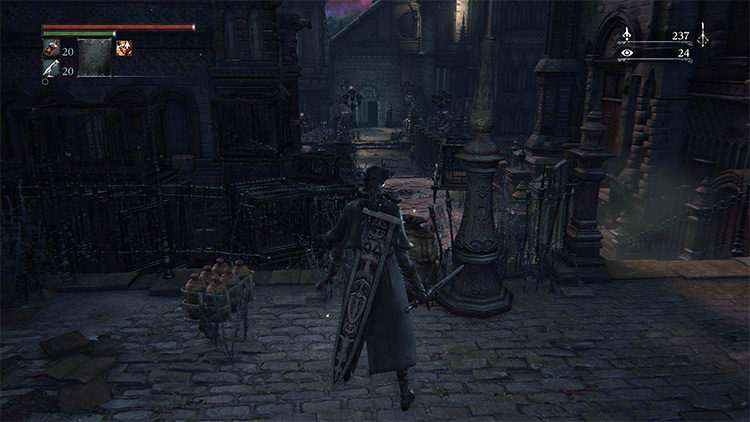
Farming Quicksilver Bullets is easy anywhere that you can find Riflemen enemies. Each Riflemen is guaranteed to drop at least 3 Bullets, so we’ll be focusing on taking out as many as possible on each farm. The best spot to find Riflemen in the early-game is the hidden warehouse in Central Yharnam. You can reach the Yharnam warehouse a couple of ways, with the easiest being from the Great Bridge Lamp which appears after defeating the Cleric Beast. From the Great Bridge Lamp, head towards the Troll and Crows, and take a left shortly after passing them. This path will drop you down from the bridge and onto a staircase. From here, head down the stairs and across a small courtyard before walking down another flight of stairs. Follow the path around the corner, take out the dog that will inevitably jumpscare you, then walk down a final set of stairs and head across the bridge to find the warehouse entrance. If you haven’t defeated the Cleric Beast just yet, the best starting point for this farm is the Central Yharnam Lamp. You’ll need to have the left shortcut gate unlocked for this route. If you don’t have it open yet, check out our Blood Vial Farming Guide for a step-by-step rundown on unlocking it. From the Lamp, head through the left gate and down two flights of steps to reach the entrance to the darkened house. Walk through this door and out the opposite side to reach a tunnel that leads to a small courtyard. Head straight across this courtyard and down the steps to reach an area full of dog cages. Defeat the dogs here and head across the bridge to reach the warehouse entrance. However you reach the warehouse entrance, your route from this point is the same. Follow the main path into the warehouse until you reach a large room with many holes in the floor. There are a few dangerous enemies here, but as long as you’re aggressive, you can stunlock them to death before they get a chance to hit you. The Rifleman you’re looking for is towards the back corner of the room, on the walkway that leads to the door to the outside. With the first Rifleman dead, walk out of the door behind him. Turn to your left and you’ll see two Riflemen on either side of the canal. Defeat these Riflemen and loot their Bullets to complete the farm. Either run or warp back to the closest Lamp and return to the Hunter’s Dream to respawn the enemies for another round of farming. This route will get you 9 Bullets per farm, a relatively low yield. For this point in the game, though, it’s by far the best spot to pick up more Bullets.
Cathedral Ward Farming (Mid-game)
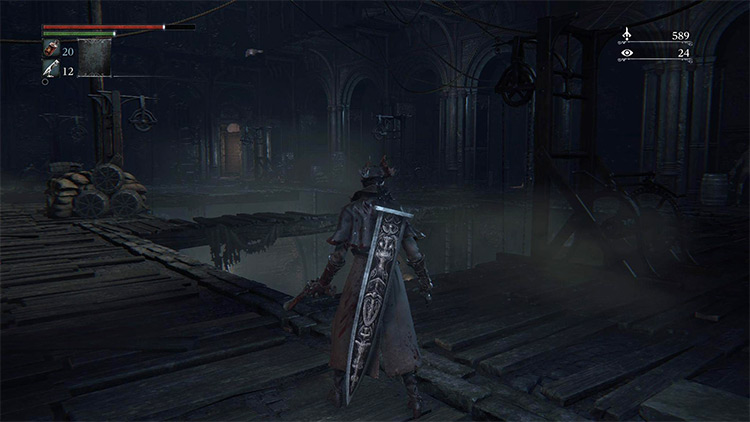
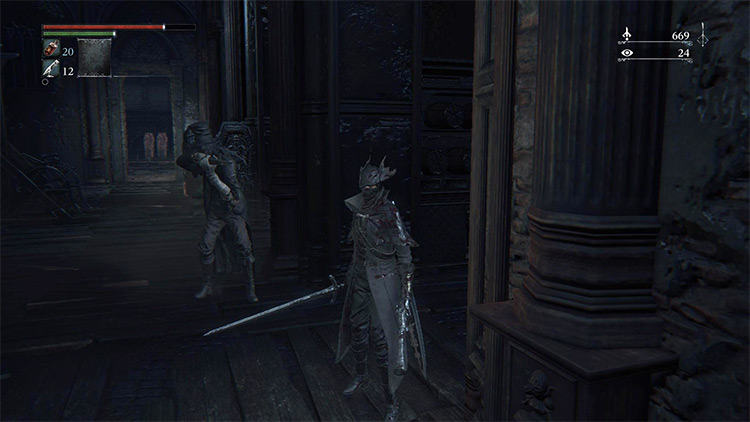
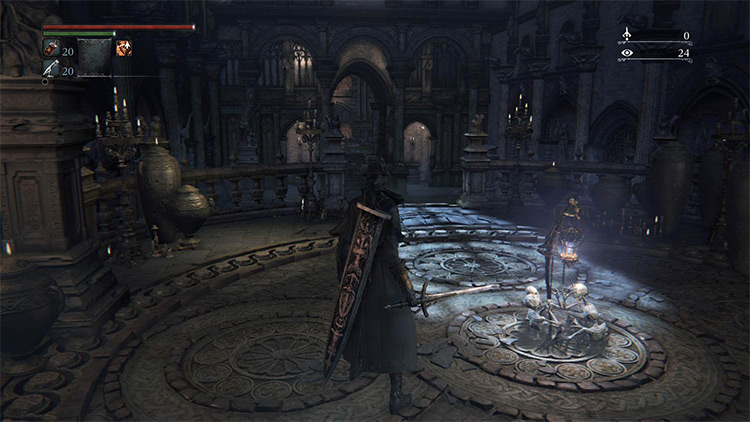
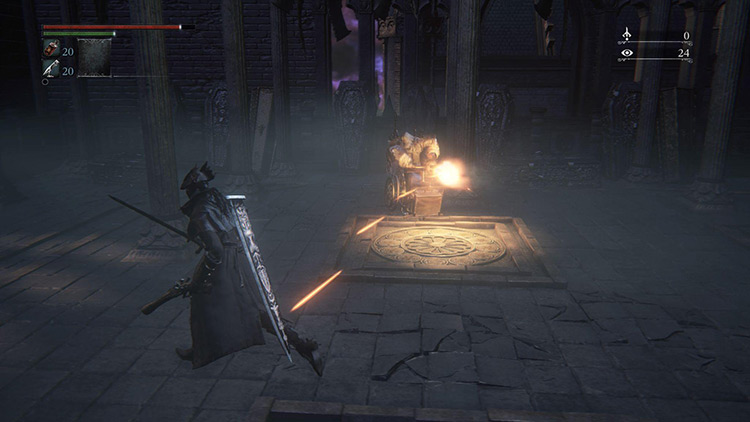
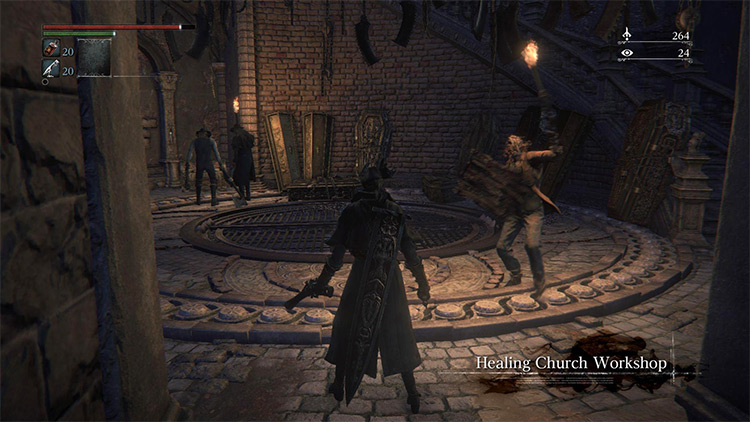
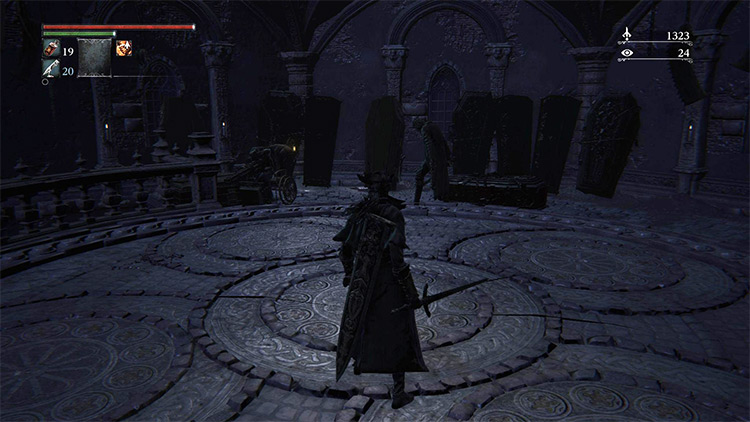
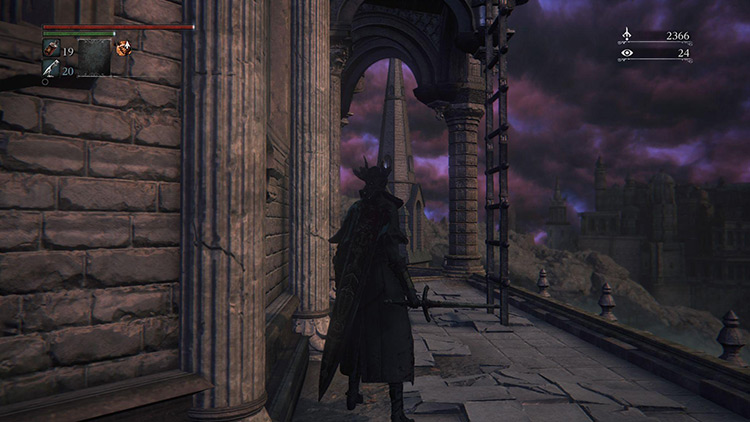
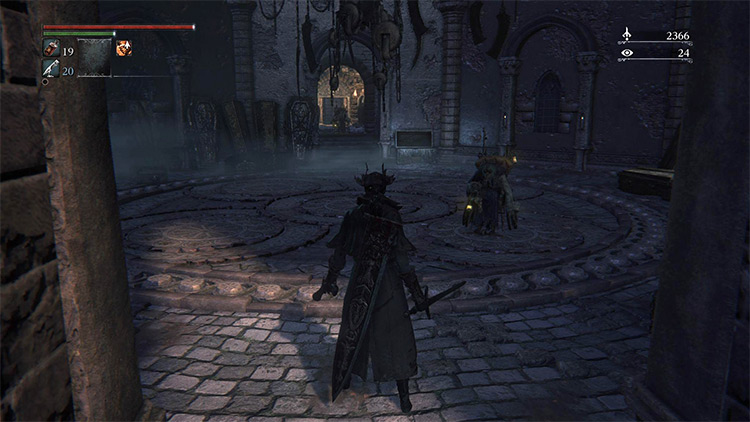
Once you’ve traveled through Old Yharnam and defeated the Blood-Starved Beast, a more efficient farming spot will open up to you in Cathedral Ward. From the Cathedral Ward Lamp, walk down the small set of stairs and make an immediate right turn into the door here (this door won’t be open until you’ve beaten the Blood-Starved Beast). Take the elevator here to find yourself in a new sub-area, the Healing Church Workshop. Your first farming target is the Wheelchair-bound Rifleman in the first room after the elevator ride. Be extremely careful when dealing with these enemies and never stop moving, lest you take massive damage from their gatling gun fire. After gathering the 4 Quicksilver Bullets from the Wheelchair Rifleman, continue on out of the room and quickly cross the bridge to avoid the fire of Riflemen above you. Head into the tower ahead and get ready for a hectic fight against 4 Villagers and 1 Rifleman. After the fight, climb the spiral stairs and watch out for a second Wheelchair Rifleman that is hidden amongst the coffins at the back of the room. Heading out onto the balcony will bring you to the two Riflemen that shot at you as you crossed the bridge, backed up by a Brick Troll. Be careful not to be sent off the edge of the balcony by the Troll, and quickly deal with the Riflemen for another 7 Quicksilver Bullets. Continue along the balcony to find a ladder which leads up to the highest level of the Workshop. Walk back towards the center of the balcony to find the final section of the farm, a room with a Villager and two Flamethrower-wielding Wheelchair enemies. Despite their lack of Rifles, each of these Wheelchair-bound enemies will still drop 4 Bullets each, bringing our total to a huge 26 Quicksilver Bullets per run. The closest Lamp you can use to reset this farm is the Cathedral Ward lamp, so backtrack or warp back to the chapel to start another round of the farm.
Hemwick Charnel Lane Farming (Mid and late-game)
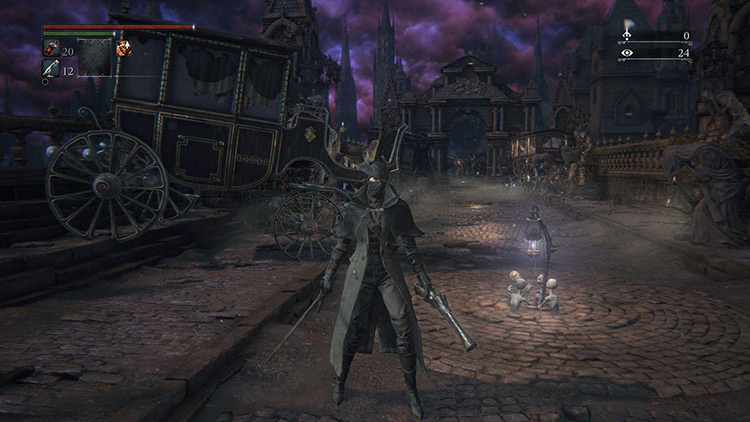
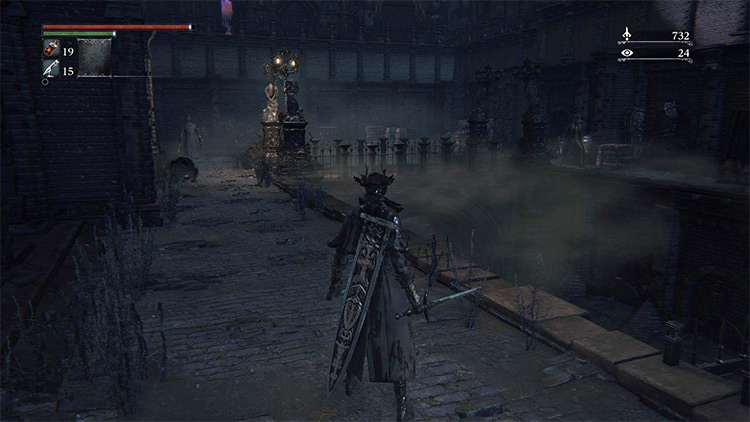
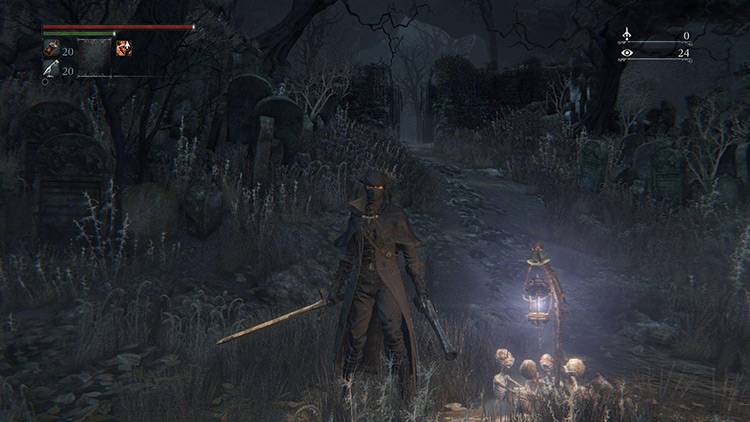
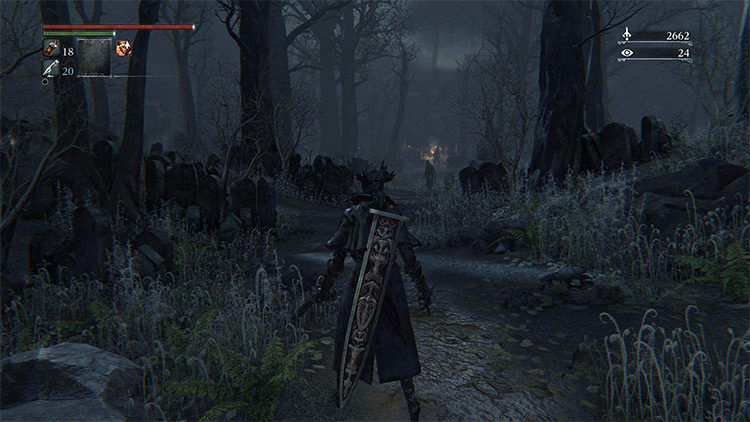
The forest near the Hemwick Charnel Lane Lamp holds the largest gathering of Riflemen in the game, with 10 scattered throughout the small area.
From the Hemwick Charnel Lane Lamp, turn around and walk uphill through the gate that leads to the woods.
The first Rifleman will be right up ahead, so deal with him before reaching the large cemetery area.
In this wide area is where you’ll find the remaining 9 Riflemen on this route.
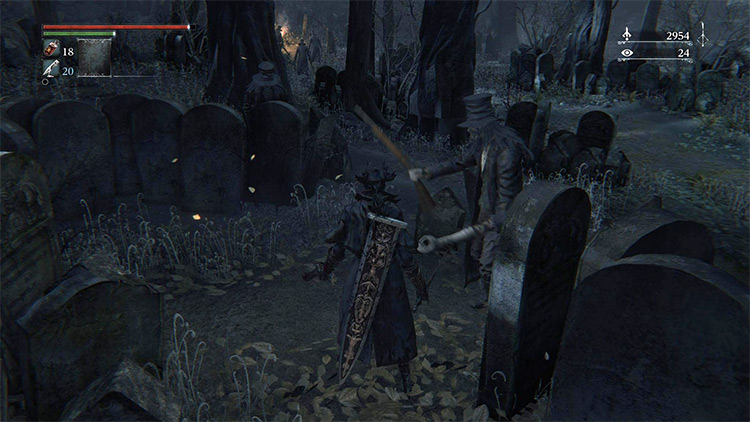
First, head into the tombstones to your left and take out the Rifleman that tries to shoot at you.
After defeating him, continue through the tombstones to find two more Riflemen hidden amongst the graves.
Their deaths will most likely draw the attention of the Rifleman on the main path, so return to the path and quickly take care of him.
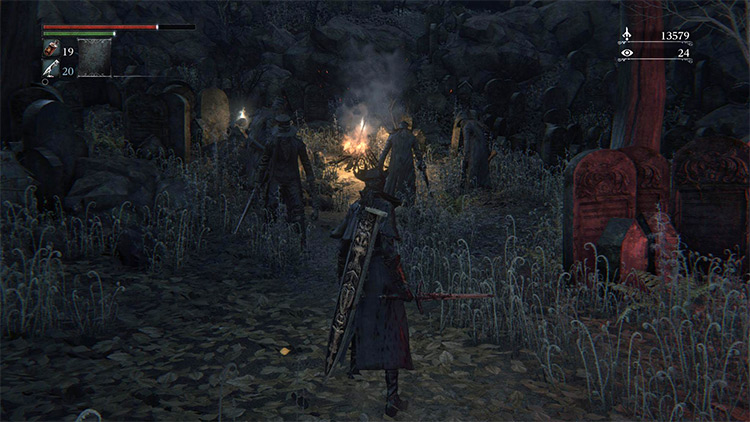
With these 4 Riflemen taken out, run to the fire at the end of the area and quickly deal with the 4 Riflemen crowding around it for an easy 12 Bullets.
Finally, turn back towards the Hemwick Charnel Lane Lamp and make a quick detour to the tombstones on your left to pick off the final Rifleman before heading back to the Lamp.
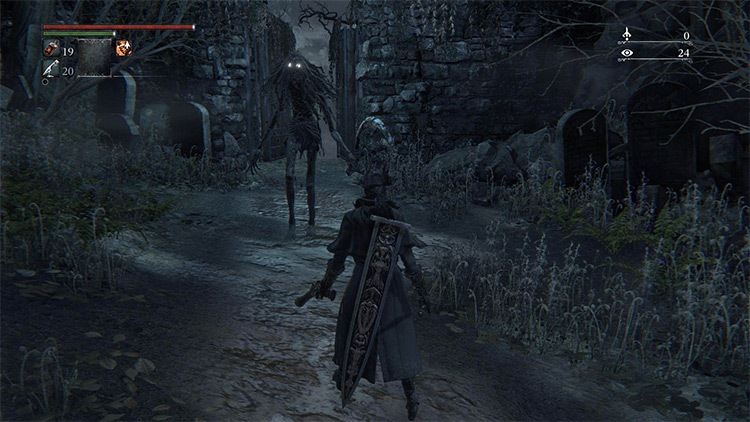
TIP: While this is usually a fairly safe farm, keep in mind that if you have defeated Rom, The Vacuous Spider, 3 additional Stalker enemies will appear – making this farm much more dangerous.
This is still the most efficient Bullet farming spot if you can deal with the danger. So be sure to check out the farm if you think you can handle it (you probably can!)