This can be done in a few ways:
Equipping the Crystal Sage’s Rapier (created from the Crystal Sage Soul) Equipping the Symbol of Avarice (found in Mimic Chests) Equipping the Covetous Gold Serpent Ring (found in Profaned Capital) Using Rusted Coins (purchasable from Unbreakable Patches) Leveling up your Luck stat, or respeccing your character into Luck
We’ll detail exactly how to get each of these item discovery boosters down below.
Finding the Crystal Sage’s Rapier
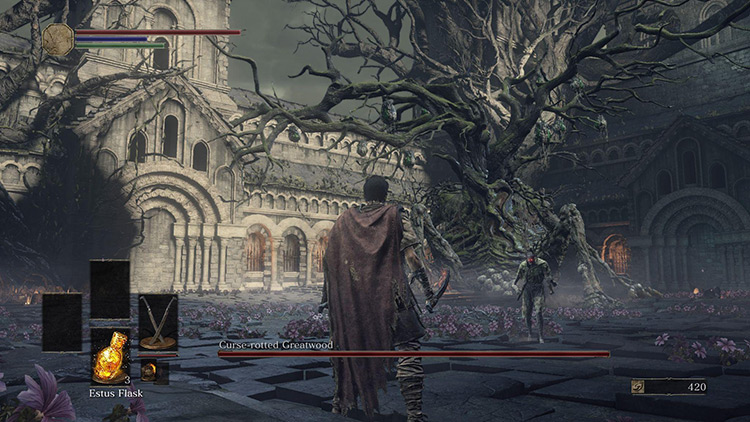
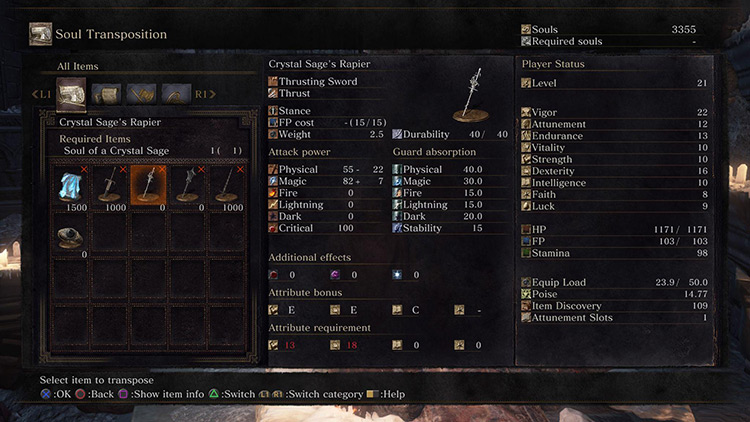
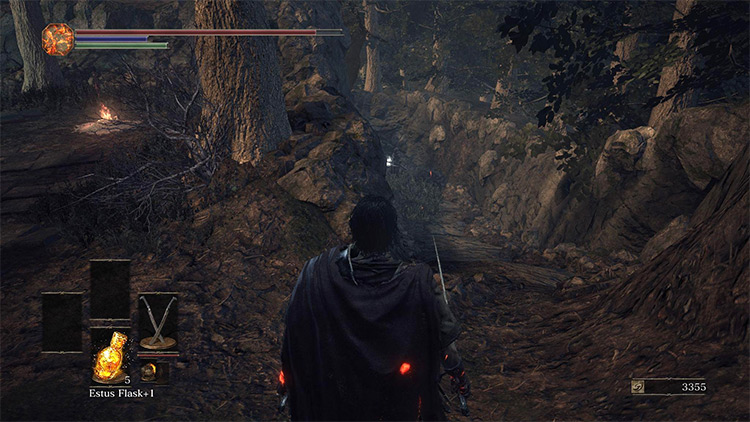
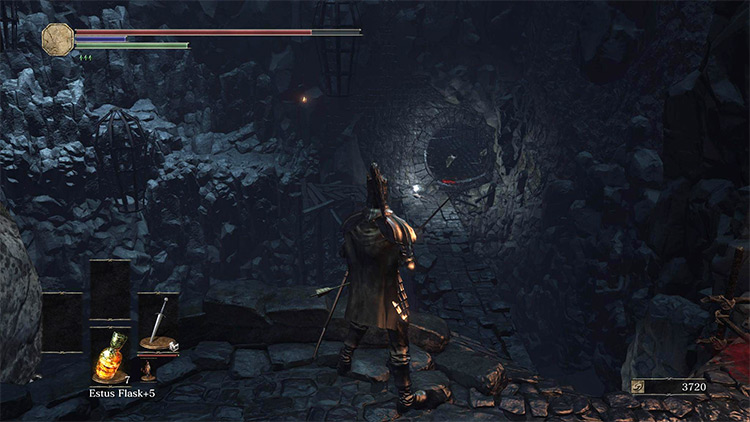
To acquire the Crystal Sage’s Rapier, you’ll need to pay Ludleth to transpose the Soul of a Crystal Sage. Before you can meet with Ludleth in Firelink Shrine to complete the transposition, you’ll first have to kill two early-game bosses. The first required boss kill is the Curse-rotted Greatwood, the optional area boss of the Undead Settlement. This boss is hard to miss, but you can end up avoiding it if you take a shortcut through the area. To find it, start from the Dilapidated Bridge bonfire, on the main path of the Undead Settlement. From here, walk straight ahead and follow the path under a broken bridge and through an archway to find yourself in a cemetery. Throughout the cemetery section, giant crossbow bolts will start to fall from the sky, so be sure to move quickly. Your goal is the shack at the end of this small section of the cemetery – head inside and up the stairs to find yourself in a large stone corridor. At the end of this corridor is a large archway that leads to the Curse-rotted Greatwood arena. Once the Greatwood is dead, it’ll drop the Soul of The Rotted Greatwood and the Transposing Kiln. Be sure not to sell the Transposing Kiln, as this is the item you’ll be giving to Ludleth. Next up on your hit list is the Crystal Sage, the boss of the Road of Sacrifices. Take out the Sage in its ruined arena and it’ll drop the Soul of a Crystal Sage, the second item that you’ll be giving to Ludleth. With both items collected, warp back to Firelink Shrine and climb the steps towards the thrones. Ludleth sits on a small throne by the left stairway. Talk to him, give him the Transposing Kiln, then select the Crystal Sage’s Rapier from his menu to trade the Soul for the Rapier. The Crystal Sage’s Rapier raises your item discovery by 50, adding a boost of around 50% to your farming speed.
Farming the Symbol of Avarice
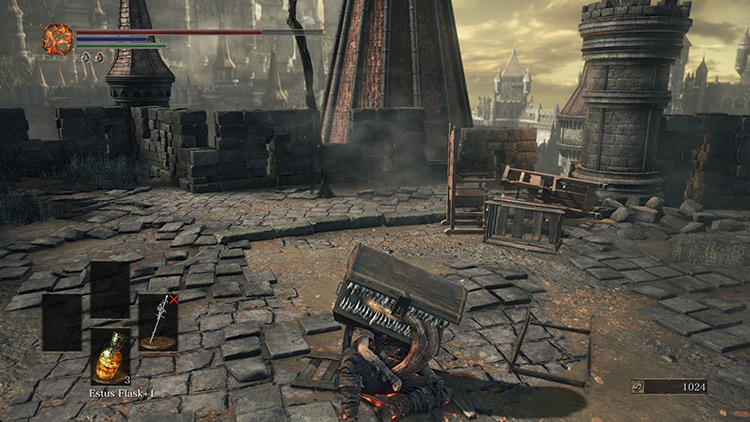
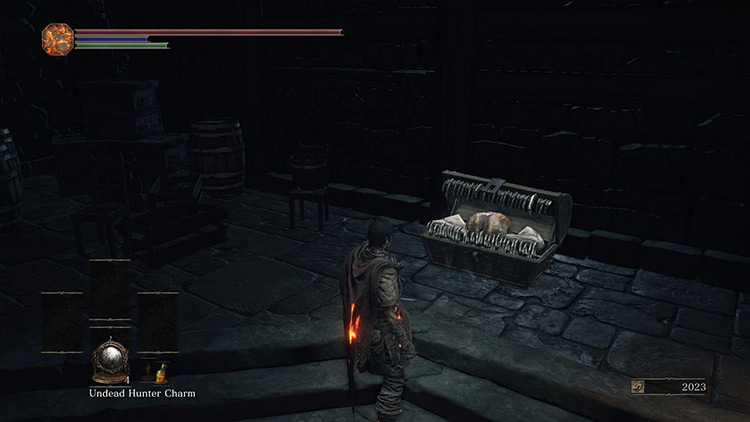
The Symbol of Avarice is a helmet shaped like a Mimic chest. You can find one by simply killing any Mimic, but there’s a catch. The Symbol is not a guaranteed drop when killing Mimics, instead forcing you to farm them. Whilst it’s a fairly common drop, Mimics don’t respawn, meaning that you’ll have to do a ton of traveling to the next Mimic if you kill one and it doesn’t drop the Symbol. A much quicker way to farm them is to stock up on Undead Hunter Charms, an item which will force the Mimic to give up its loot without dying. You can find a few Charms throughout the overworld, but the best way to collect them is to unlock an unlimited stash of them in the Firelink Shrine Handmaid Shop. To do this, you’ll need to collect the Paladin’s Ashes from the Cathedral of The Deep. Warp to the Cathedral of The Deep Bonfire to get started. Walk forward slightly from the Bonfire then make a hard left turn to find a small path that leads to an enemy NPC. Right behind the enemy NPC is a corpse that holds the Paladin’s Ashes. Fight or run from the NPC, then pick up the Ashes and warp back to Firelink Shrine. Hand the ashes to the Firelink Handmaiden to unlock the Undead Hunter’s Charm in her shop, then buy around 20. With the charms bought, you can now head to a Mimic of your choosing to begin the farm. In my opinion, the easiest Mimic to farm in this way is the one in the room behind the Hellkite Drake on the High Wall of Lothric. To get to it, start at the High Wall of Lothric Bonfire, and walk down the steps to the left. Continue down this linear path until you reach the steps that lead to the platform that the dragon oversees. Walk along the pathway to the right of the steps to bait the dragon into attacking, then run back before its fire can hit you. Immediately run up the stairs and attempt to reach the door below the dragon. You may still get hit during this run, but by baiting the dragon beforehand you’ll greatly lower your chances of death. Once inside, drop down to the lower floor to find the Mimic chest asleep. Equip your Undead Hunter Charms and throw the first at it to open its mouth. While the mouth is open, there’s a chance that the Symbol of Avarice will appear. Watch the Mimic closely – if the Symbol hasn’t appeared once its teeth shift, then it won’t drop the Symbol on this attempt. Hit the Mimic exactly once to close its mouth. Repeat this process from here, opening and closing its mouth until it drops the Symbol. When equipped, the Symbol of Avarice will grant you an extra 100 points of item discovery, making it the most effective piece of farming gear in the game.
Finding the Covetous Gold Serpent Ring
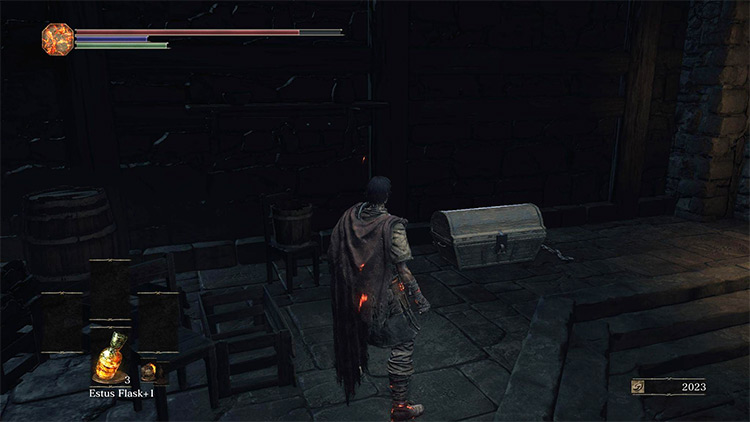
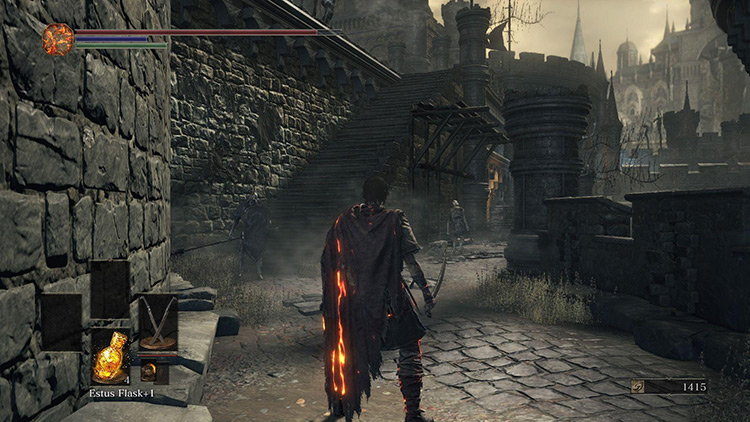
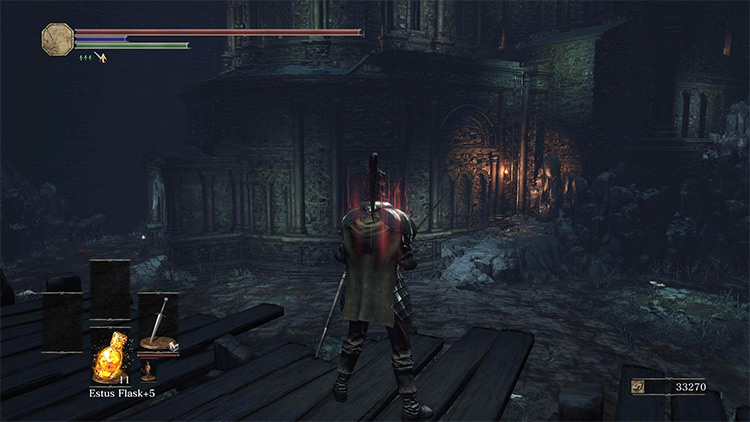
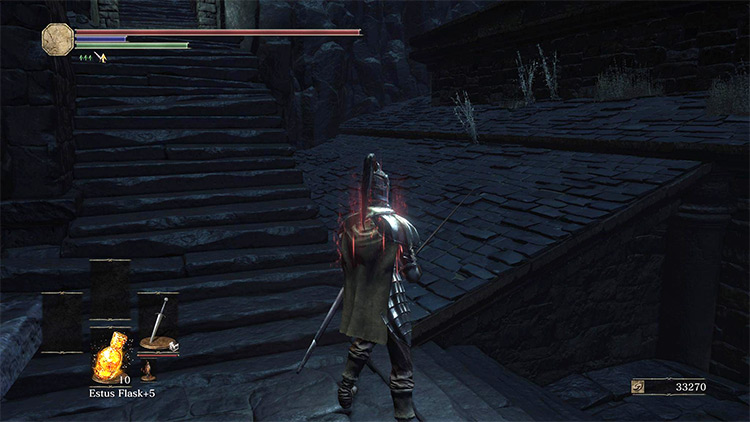
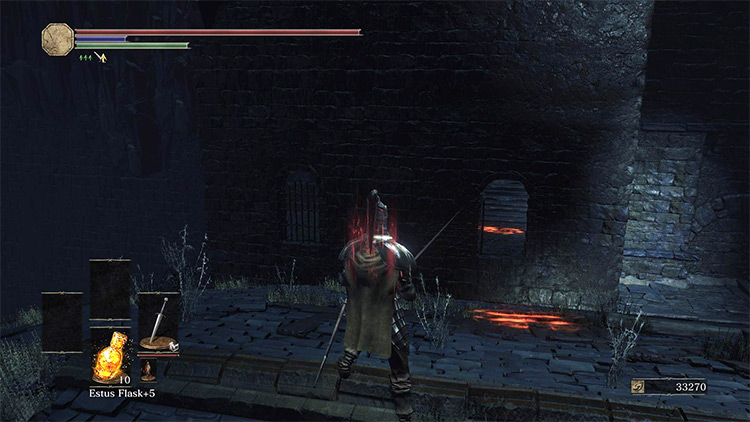
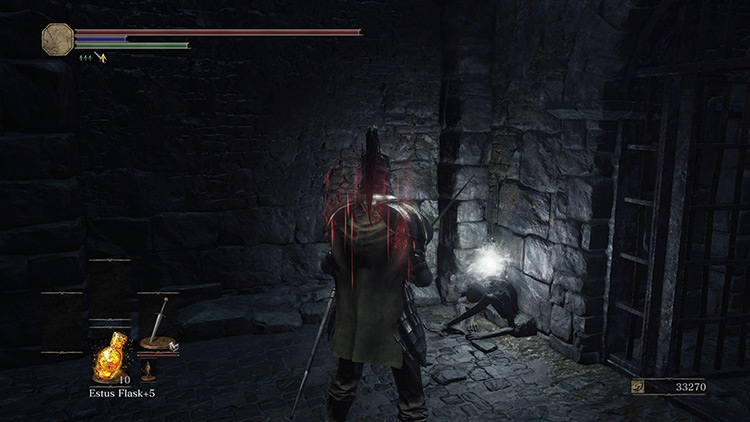
The final piece of item discovery-boosting equipment is the Covetous Gold Serpent Ring, found in the Profaned Capital. Before you can get it though, you’ll need the Old Cell Key from Irithyll Dungeon. Begin at the Irithyll Dungeon Bonfire, then walk forward until you reach the end of the corridor. Turn right here and sprint past the Jailor. Then turn left when the path opens up and head across the thin bridge. At the end of the bridge, turn left and head through the gate. Quickly drop off the ledge to your left to find yourself on a lower path. Turn around and continue down the corridor until you pass through the door at its end. This area only has one path, so follow it until you head back inside and pass a Mimic chest. In the corridor past the chest, immediately look to your right to find a small archway in the wall that hides a hole. Drop through this hole and quickly move to your right to avoid waking the Giant. Walk up the small set of stairs, then drop off of the ledge onto the bridge below. At the end of the bridge is a circular hole that leads to the sewer tunnel that holds the key. Head through this hole, kill the rats, then walk up the four sets of stairs ahead of you to find two chests. Note: the chest on the left is a Mimic, and will almost certainly kill you if you open it. The chest on the right holds the Old Cell Key, so grab it and warp out of there to put the Irithyll Dungeon behind you. Once you have the Old Cell Key, you can seek out the Covetous Gold Serpent Ring in the Profaned Capital. Start from the Profaned Capital Bonfire and head down the ladder before heading through the large hole in the wall. After dropping off the small ledge here, turn left and continue along this path until you walk up a wooden walkway that leads into a small maze of corridors. Take the first left here, then walk to the end of this corridor. Turn right to continue along the path, then make a right turn in front of the stone steps. Walk to the end of this corridor, then turn left. Take the next right to finally find yourself back outside, overlooking a large pool of poison. Across this pool is a small outcropping of rock that leads to a ladder. Drop off of the walkway you’re standing on and sprint towards this ladder to avoid the enemies that will wake when you drop. After climbing the ladder, follow the rooftop walkway around to the right and walk up the large staircase. About halfway up, the stairs will turn to the left before continuing upwards. At this point, leave the staircase and walk across the slanted roof to your right. Ascend to the top of the rooftop until you reach the small archway that lets you inside. Once you’re at the doorway, turn 180 degrees around and walk along the top of the rooftop. To your right will be a hole in a wall across a gap. Line yourself up, then take a running jump into this hole. Walk up the staircase here to find yourself at the entrance to a prison cell. Use the Old Cell Key to walk inside and pick up the Covetous Gold Serpent Ring from a corpse. The Covetous Gold Serpent Ring may be hard to find, but its item discovery boost of 50 points makes it worth it.
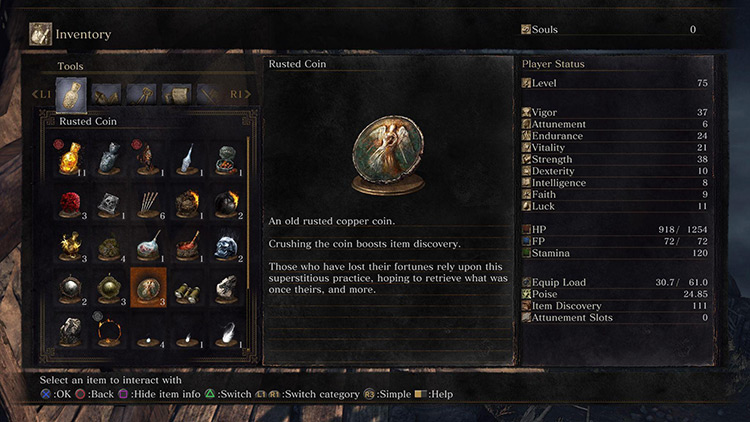
Buying Rusted Coins
Rusted Coins are consumable items that boost your item discovery by 50 points for 65 seconds. You can find a few of these things on corpses throughout the game. But to put them to proper use, you’ll need to collect a much bigger stash. You can buy an unlimited number of them from Unbreakable Patches once he’s relocated to Firelink Shrine. To get Unbreakable Patches to appear in Firelink Shrine, you’ll first have to complete his questline. Here’s a quick rundown of this quest: You can find a detailed explanation of how to complete Patches’ quest over on the Dark Souls 3 Wiki.
Respeccing Your Character
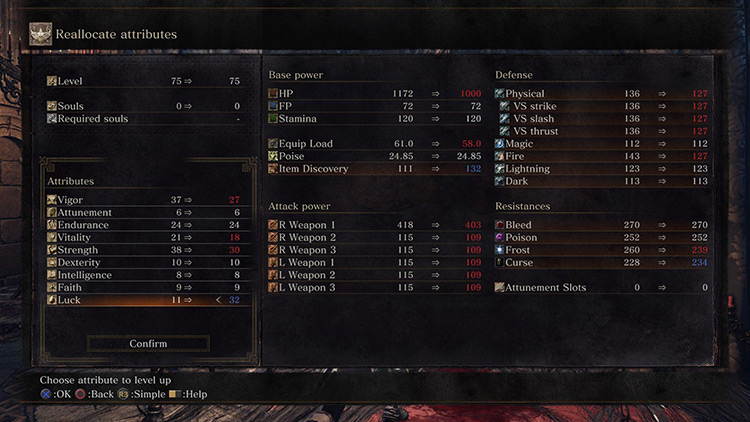
The final way to boost your item discovery in Dark Souls 3 is by leveling up your Luck stat. Each point that you invest into luck adds a single point of item discovery to your build. While I personally don’t recommend altering your stat distribution to speed up farming, this could be a viable strategy for you if you plan to use a weapon that scales with Luck. You can find a full list of Luck-scaling weapons here. If you do decide to put some points into Luck, you may want to visit Rosaria to quickly respec your character, rather than spend hours farming Souls to afford the extra level-ups. You can find Rosaria in her Bedchamber, a room in the Cathedral of The Deep located on the far side of the cathedral rafters. Ask to join her covenant, then choose to ‘reallocate attributes’ to respec your character’s stats. You’ll need to pay a Pale Tongue to respec – if you don’t have one, you can pick one up in the Cathedral, right behind one of the chained Giants. With the Crystal Sage’s Rapier, the Symbol of Avarice, the Covetous Gold Serpent Ring and 30 points in Luck, you’ll have an item discovery stat of 330, up from a base of 107. Add in a Rusted Coin and you’ll have a temporary item discovery rate of 380, which will make your farming almost 4 times faster. Happy hunting!